A Step by Step Guide for Washing Your Vehicle to Prevent Scratches
Did you Know?
Majority of light scratching and swirling, or “love marks”, is actually caused by improper washing and this can make your vehicle look dull.
To keep your car shiny and help you prevent this, we're sharing our tips and tricks on how to safely wash your vehicle to reduce the risk of damage.
If your vehicle already has love marks, don’t worry. We can help you get it back to a clean slate with our paint correction services.
If you're a car enthusiast, or just looking to maintain the value of your car, follow the steps below to achieve a spotless, scratch-free finish!
Tools & Supplies You’ll Need:
3 Wash Buckets
3 Dirt Traps
Pressure Washer (or Garden Hose)
Foam Cannon (Optional)
Wash Mitt or Pad
Soft Bristle Brush for Intricate Areas
Multiple Dedicated Wheel Brushes (or Microfibers)
Multiple Microfibers
Drying Towel
Optional (but helpful) Tools & Supplies:
Foam Cannon
Air Compressor
Chemicals You’ll Need
Wheel & Tire Cleaner
PH Neutral Car Shampoo
Tire Dressing
Paint Sealant or Detail Spray/Drying Aid
Bug Remover (Optional/As Needed)
What to Know Before
• It’s always best to wash your vehicle in a cool and shaded place to avoid chemicals quickly evaporating and potential water spotting.
• When washing or drying, always move across the paint in straight lines. Washing in circular motions can cause swirling damage on paint.
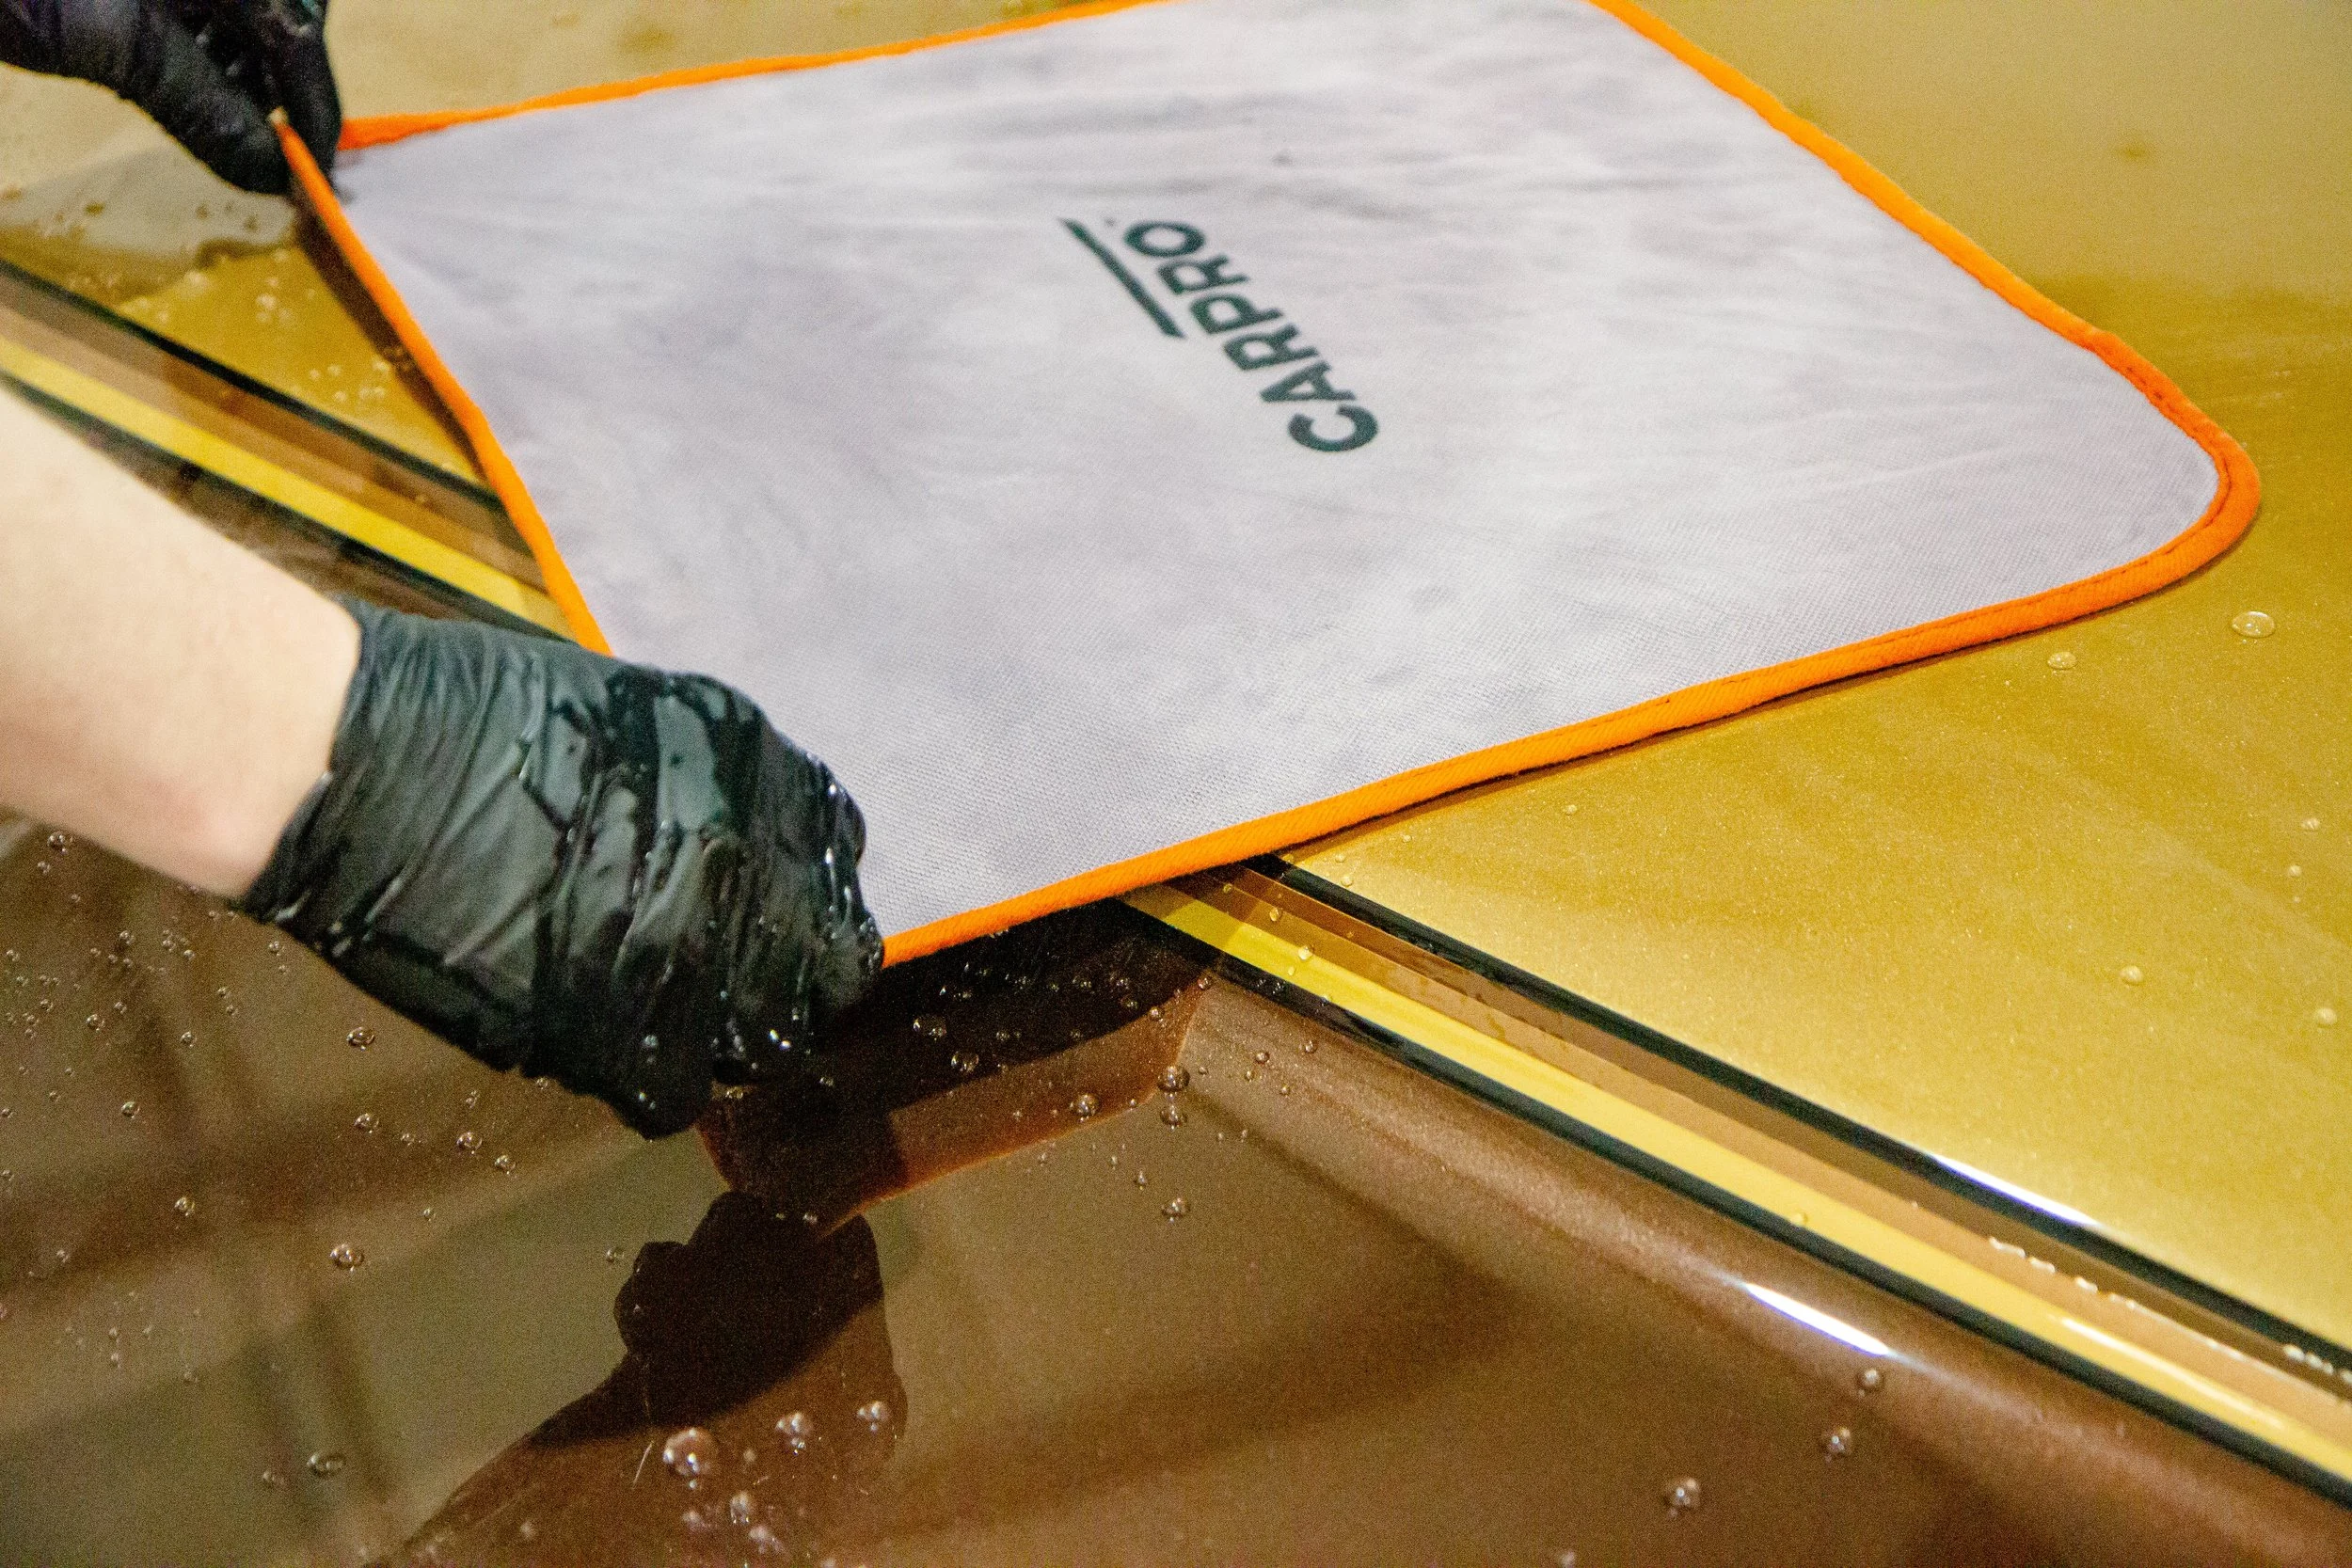
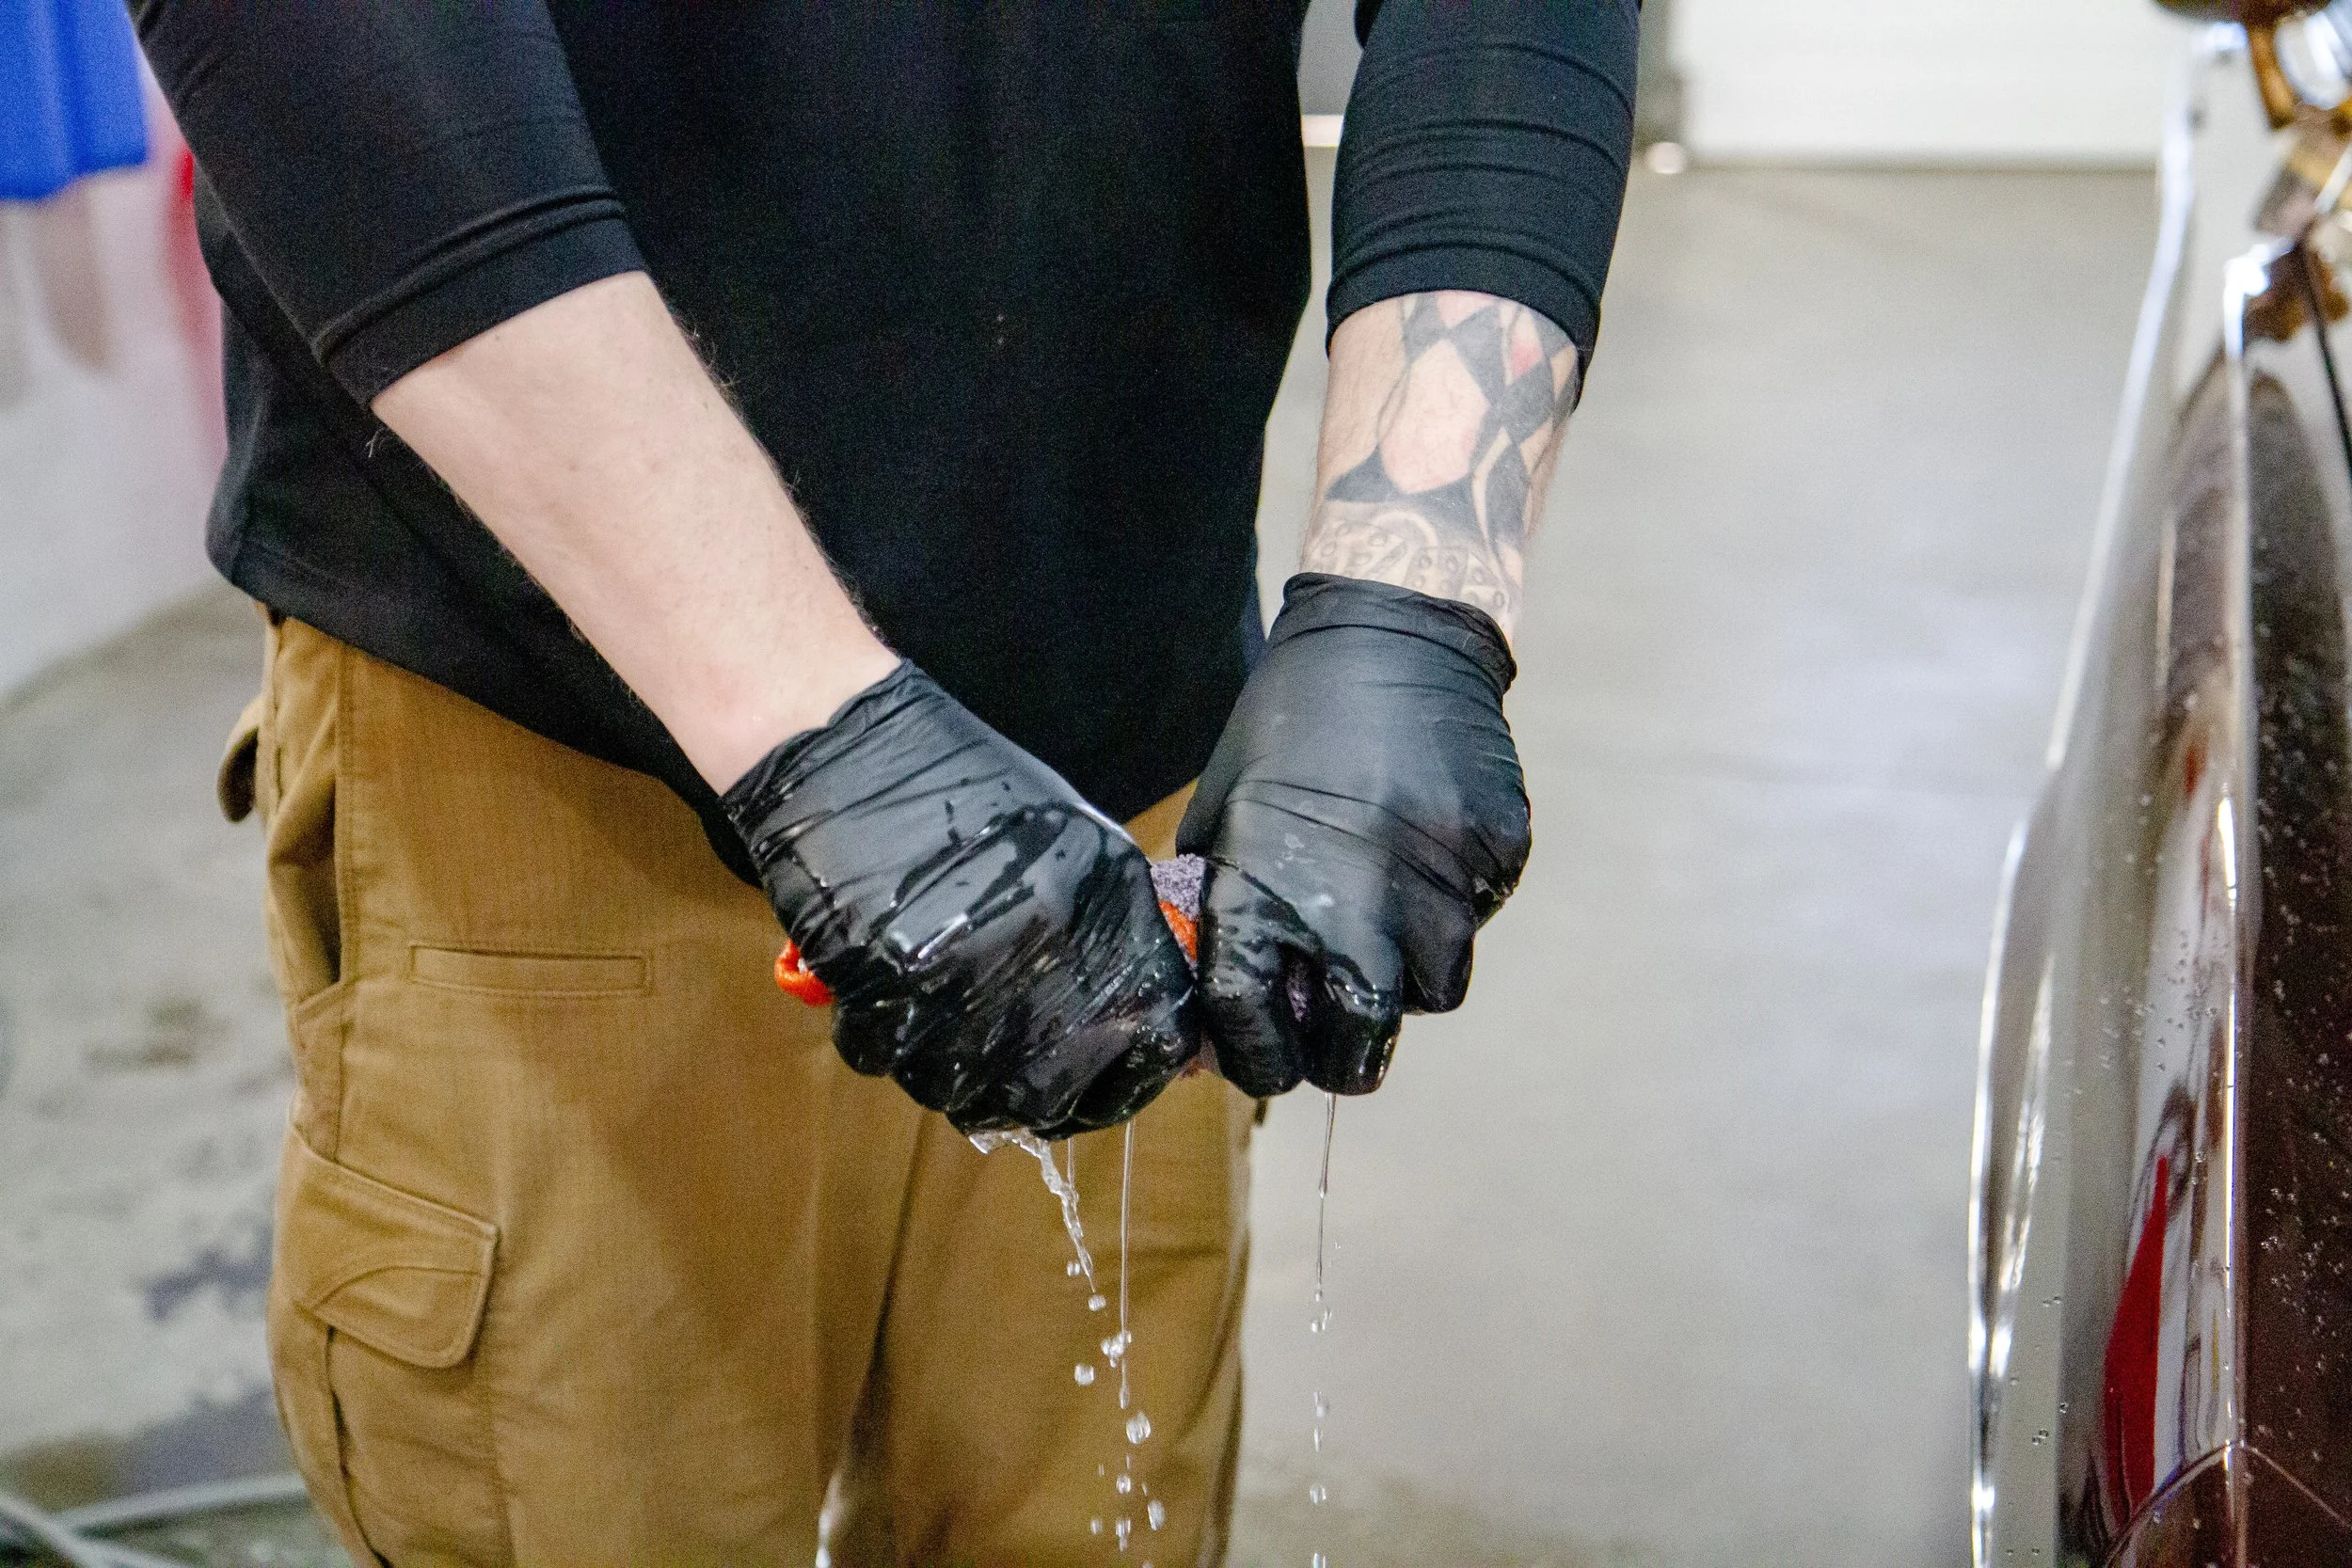
• Before using a microfiber towel for the initial dry, soak it in clean water, ring it out well, and then dry. This sounds counterintuitive, but a damp towel absorbs more, and dry towels are also more abrasive!
• The products we use are professional grade and available to purchase at our shop. If you have products you love and know are safe, feel free to use those. If you’d like to know more about the products we recommend, contact us anytime.
Step 1. Prepare Buckets
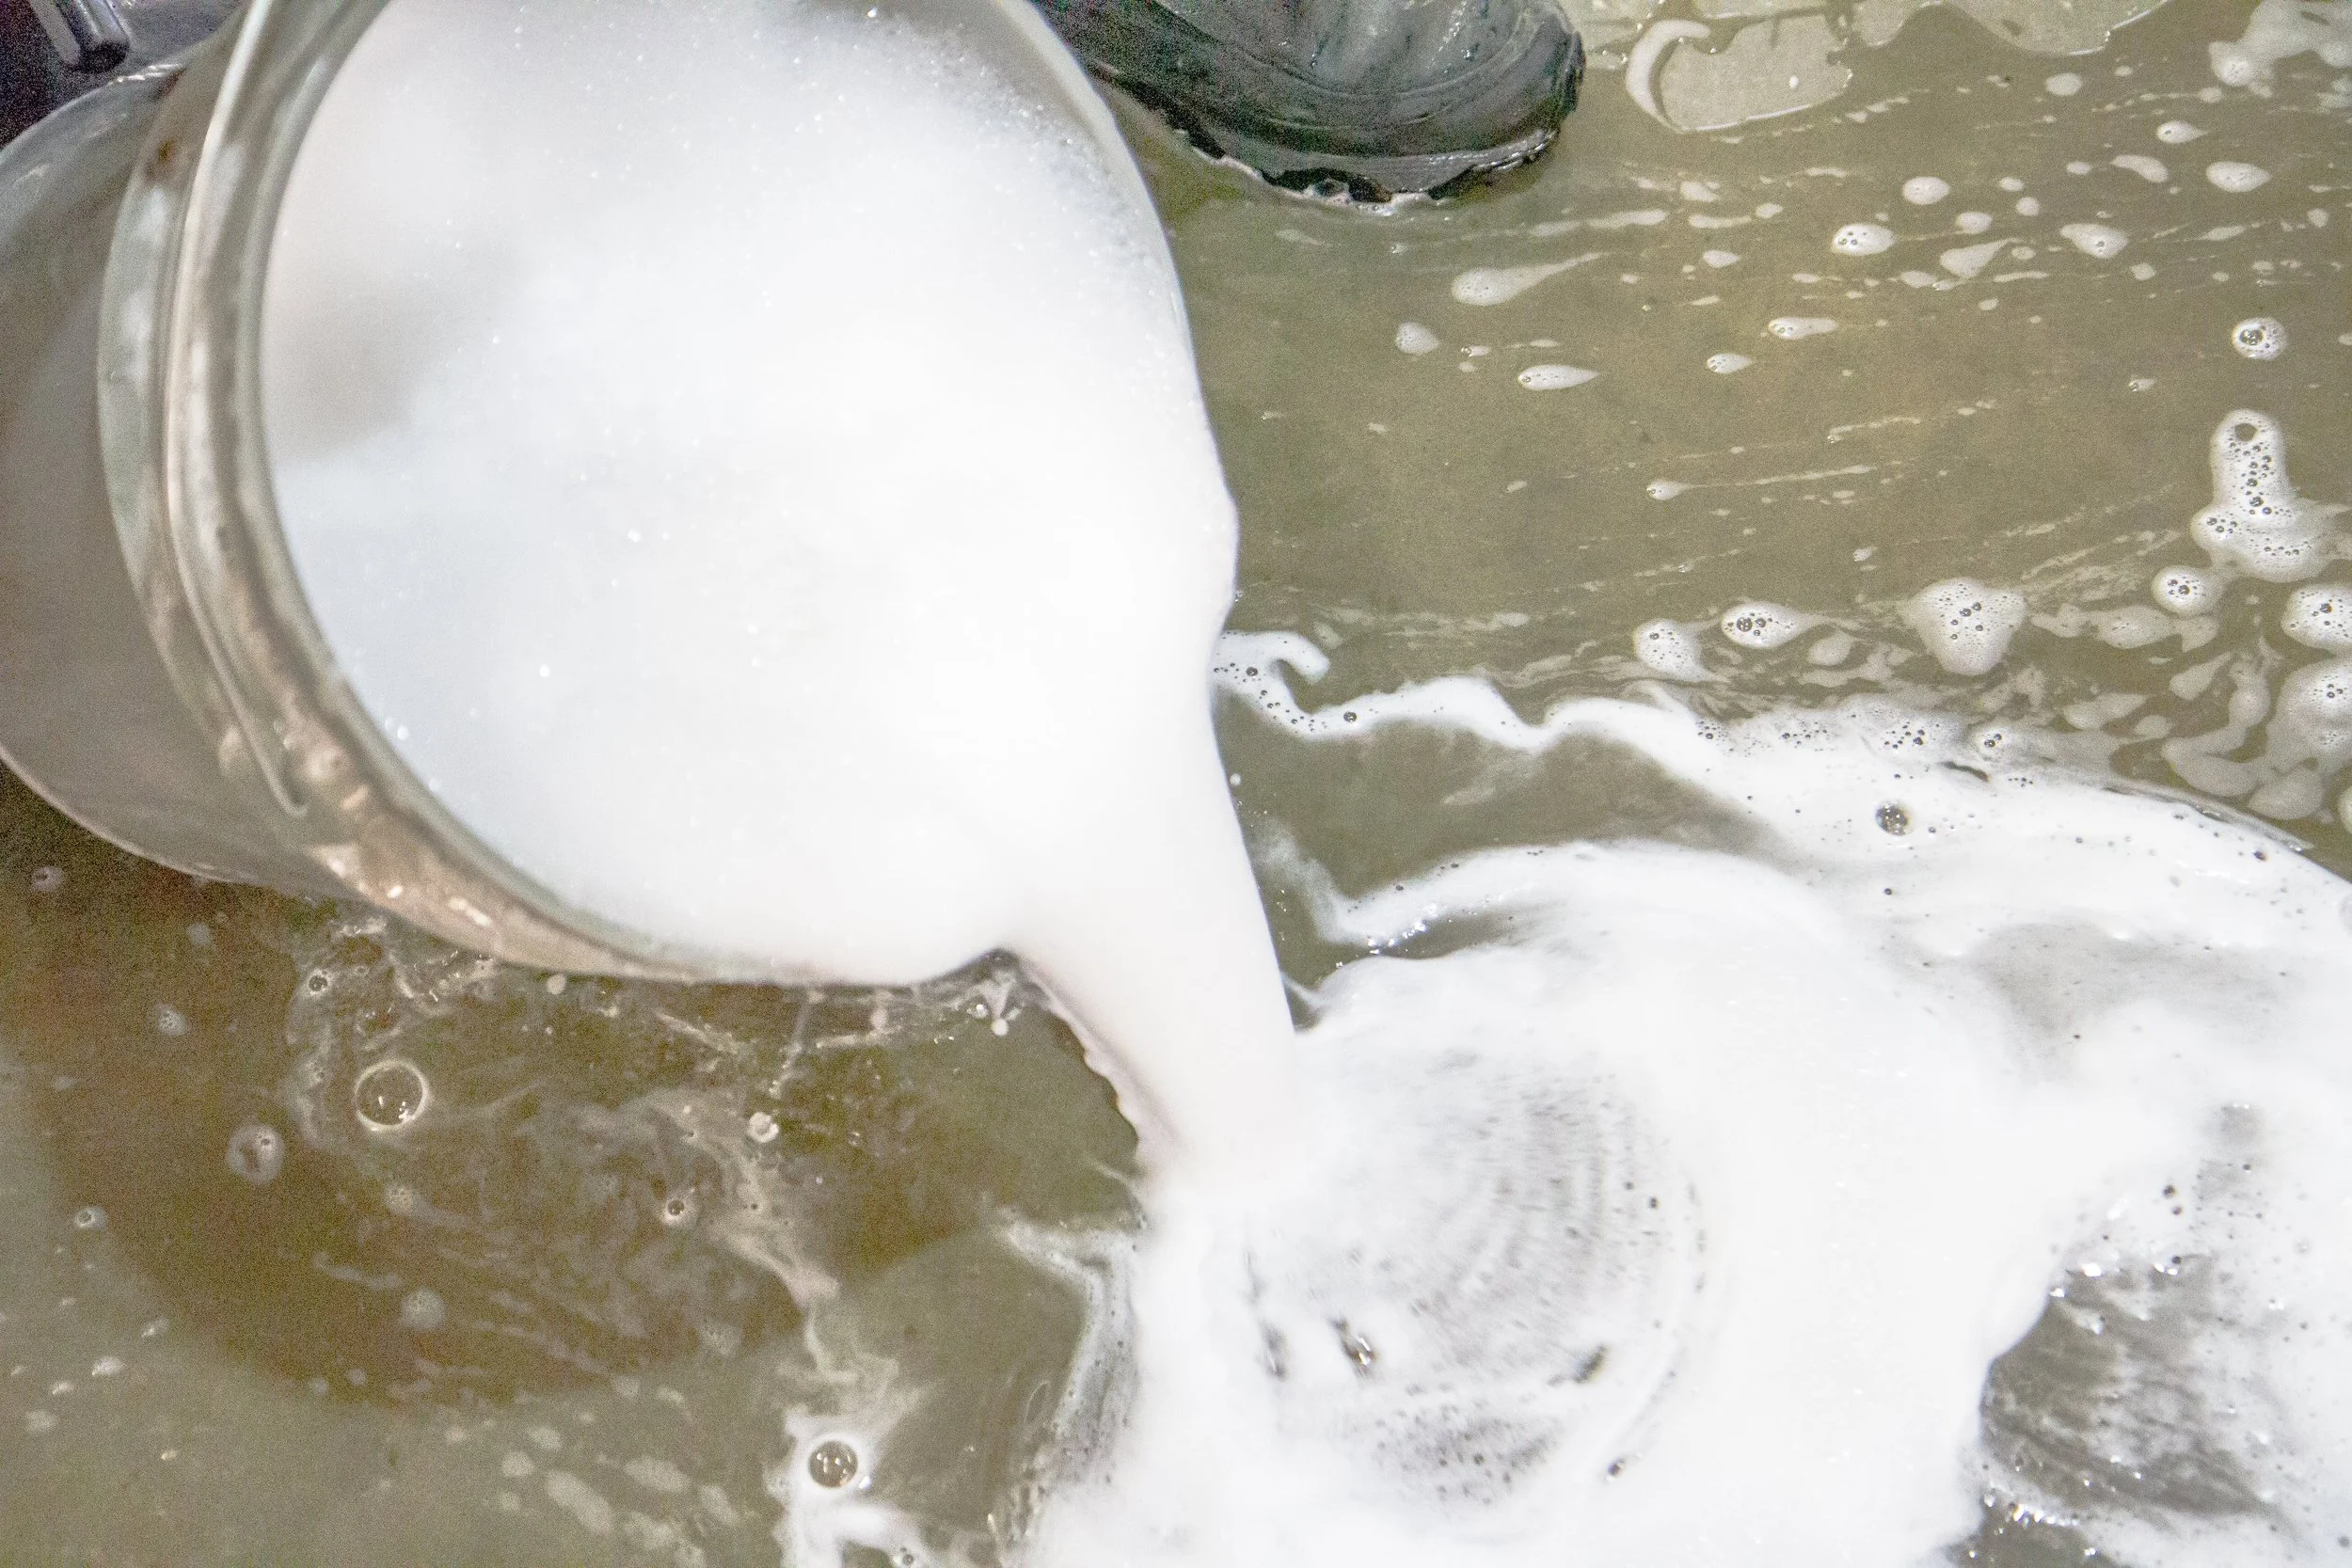
Install your dirt traps into the buckets. To start, fill each bucket ½ full with water. Next, into 2 of the buckets, add your shampoo (whatever the amount instructed for your product). 1 bucket will remain with water only, this is your rinse bucket!
Next, insert your pressure washer (or hose) into the bottom of one soap bucket. Fill the remainder of the bucket with water, also stirring up the shampoo. Repeat this with your second soap bucket.
Optional: If using a foam cannon, prepare the cannon with your shampoo solution as well.
Step 2. Clean Wheels & Tire
Working one wheel at a time, liberally apply wheel and tire cleaner to the wheel faces, inner barrel, brake calipers and tires. Let stand for 1-2 minutes to allow the product to loosen up dirt particles.
Next, use your dedicated wheel and tire brushes/microfibers to lightly agitate all surfaces and crevices, dislodging dirt. Rinse the wheel and tire completely and, depending on how dirty they are, repeat if necessary. Repeat this for all wheels and tires.
To avoid accidentally using the contaminated solution on your paint, discard the bucket contents once you are done washing your wheels and tires.
Step 3: Pre-Rinse
If necessary, apply bug remover to areas as needed (commonly on the front end, mirrors, etc). Let the bug remover stand for the amount of time suggested on the product you are using. Do not let the bug remover sit longer than directed or become dry, otherwise it may cause damage. Once ready to rinse, proceed below.
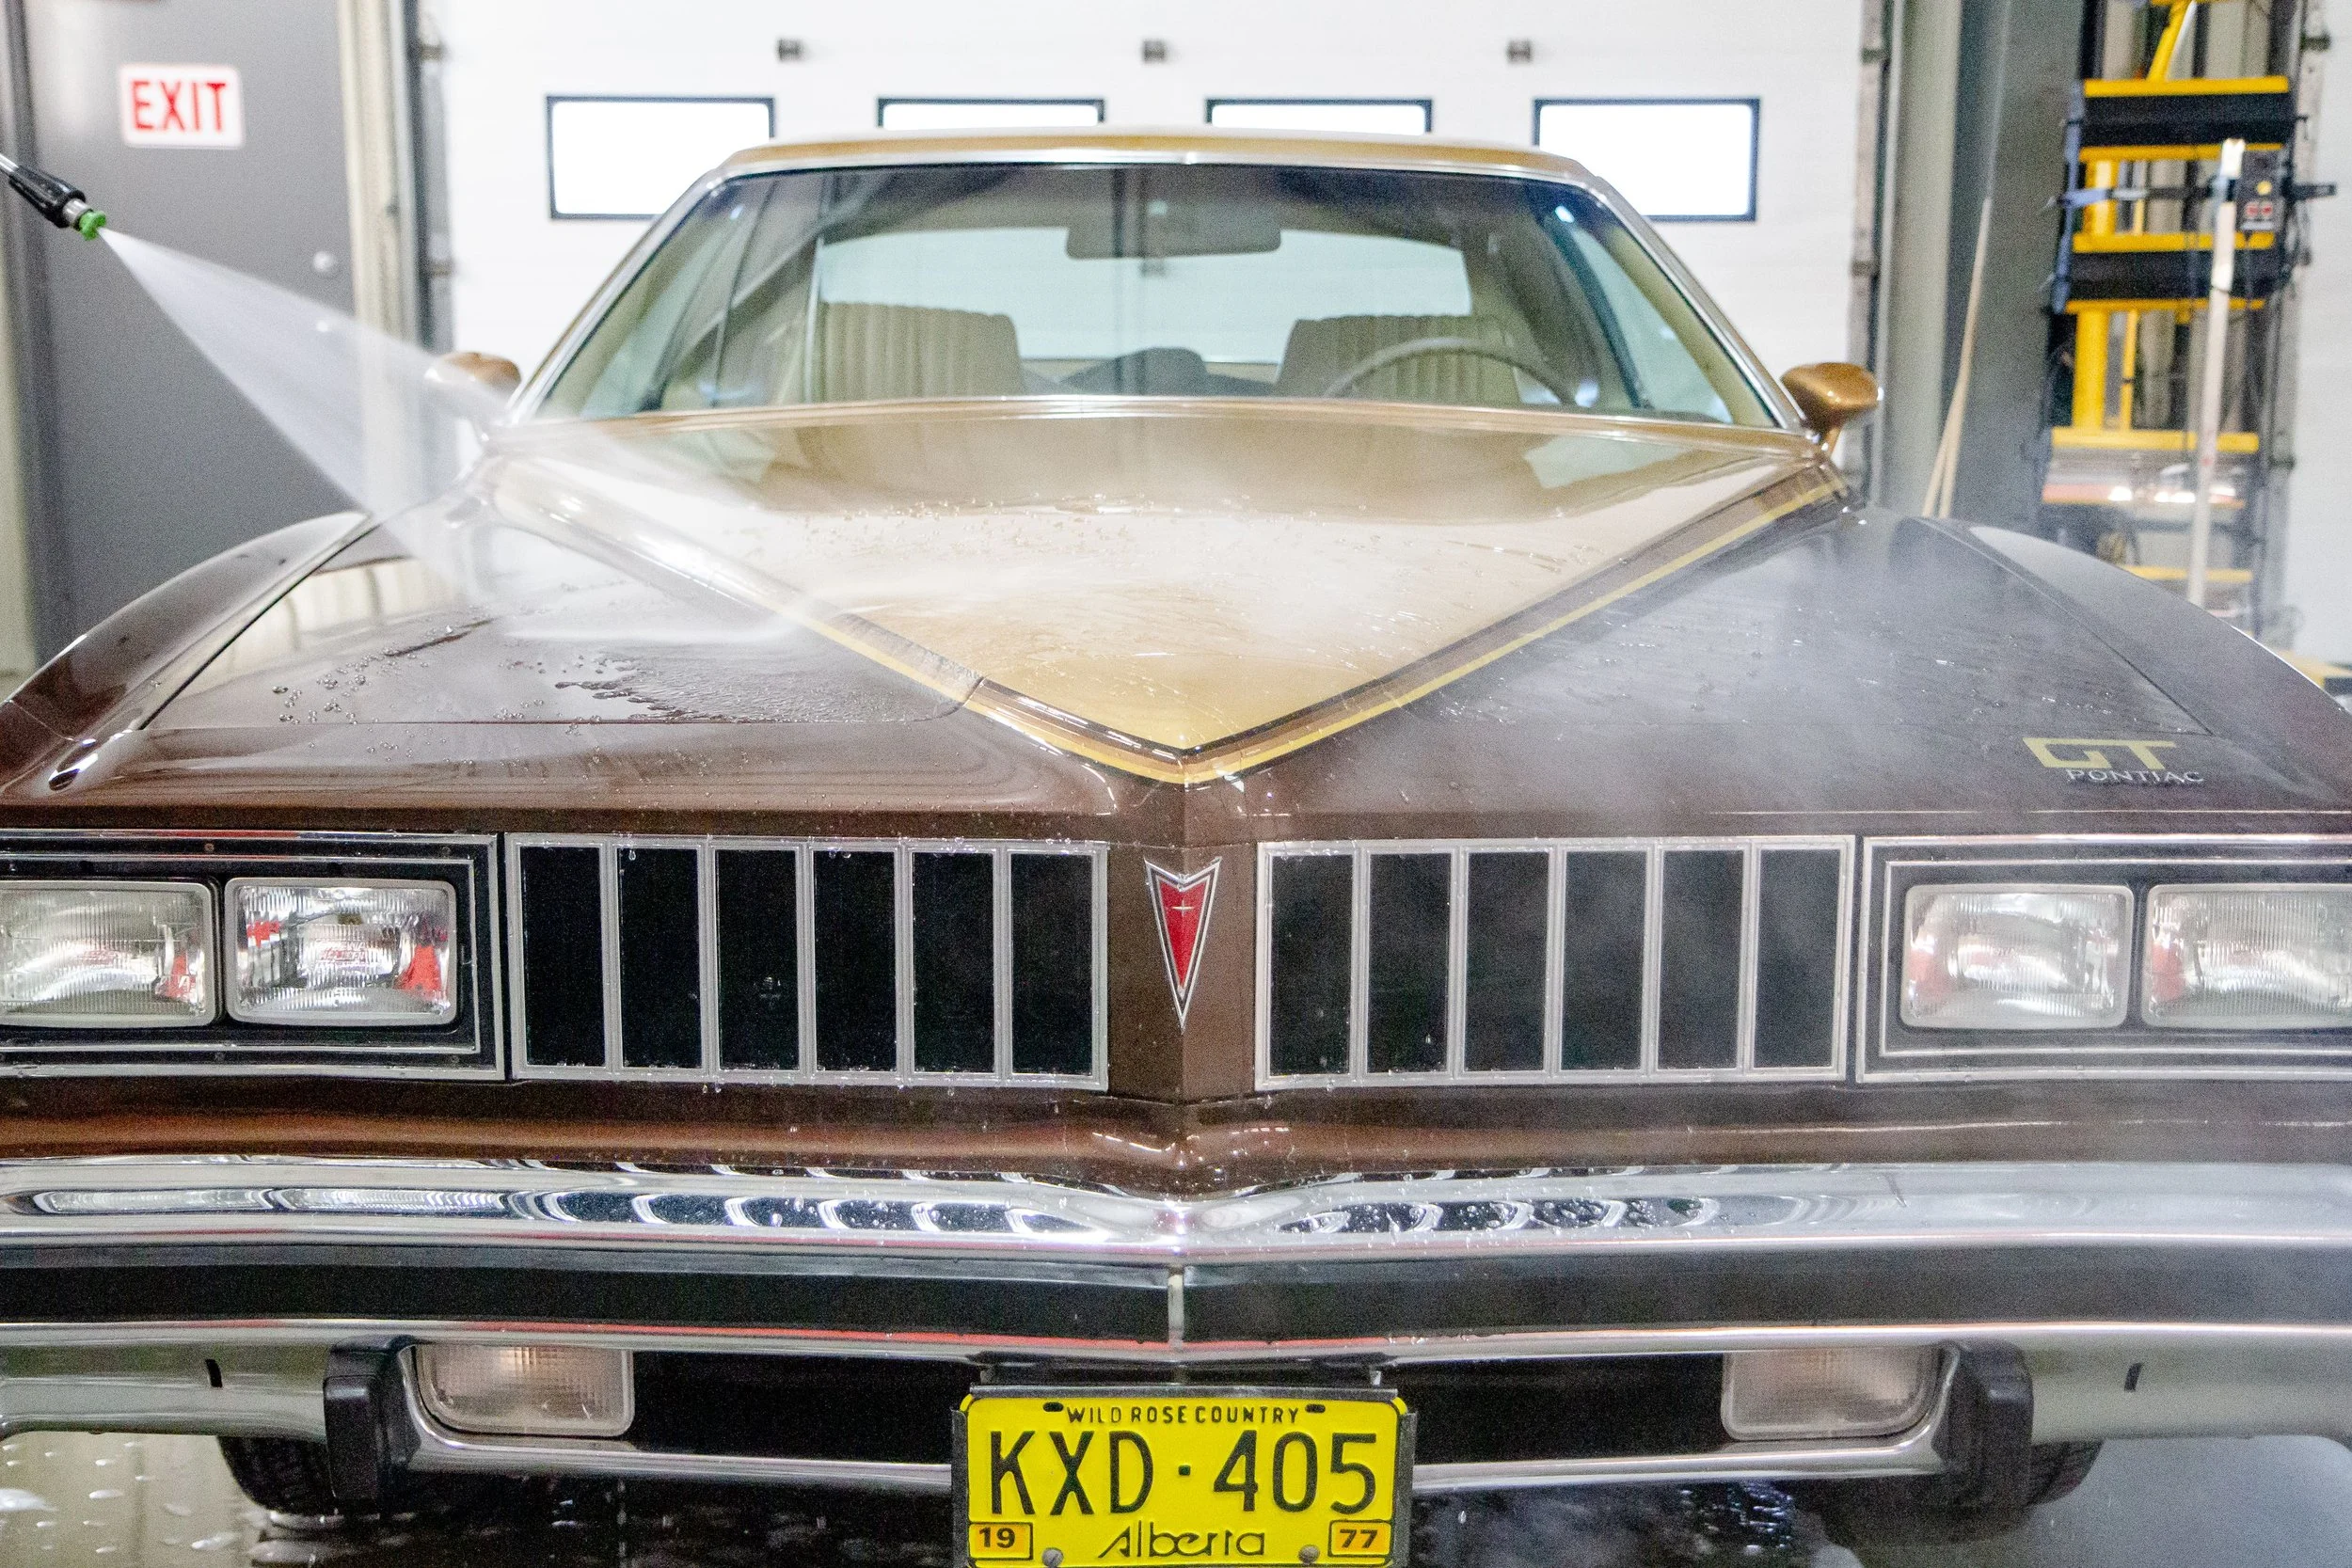
Using a pressure washer (or hose), remove larger dirt and debris by rinsing the entire vehicle from top to bottom. A pre-rinse helps prevent paint damage, otherwise dirt can catch into tools and drag along surfaces, leading to scratches or swirling. During your pre-rinse, don’t forget areas like panel gaps, wiper cowls, wheel wells, etc...
Step 4: Hand Wash
Optional:
If using a foam cannon, make your way around the vehicle applying a liberal layer of foam to all surfaces.
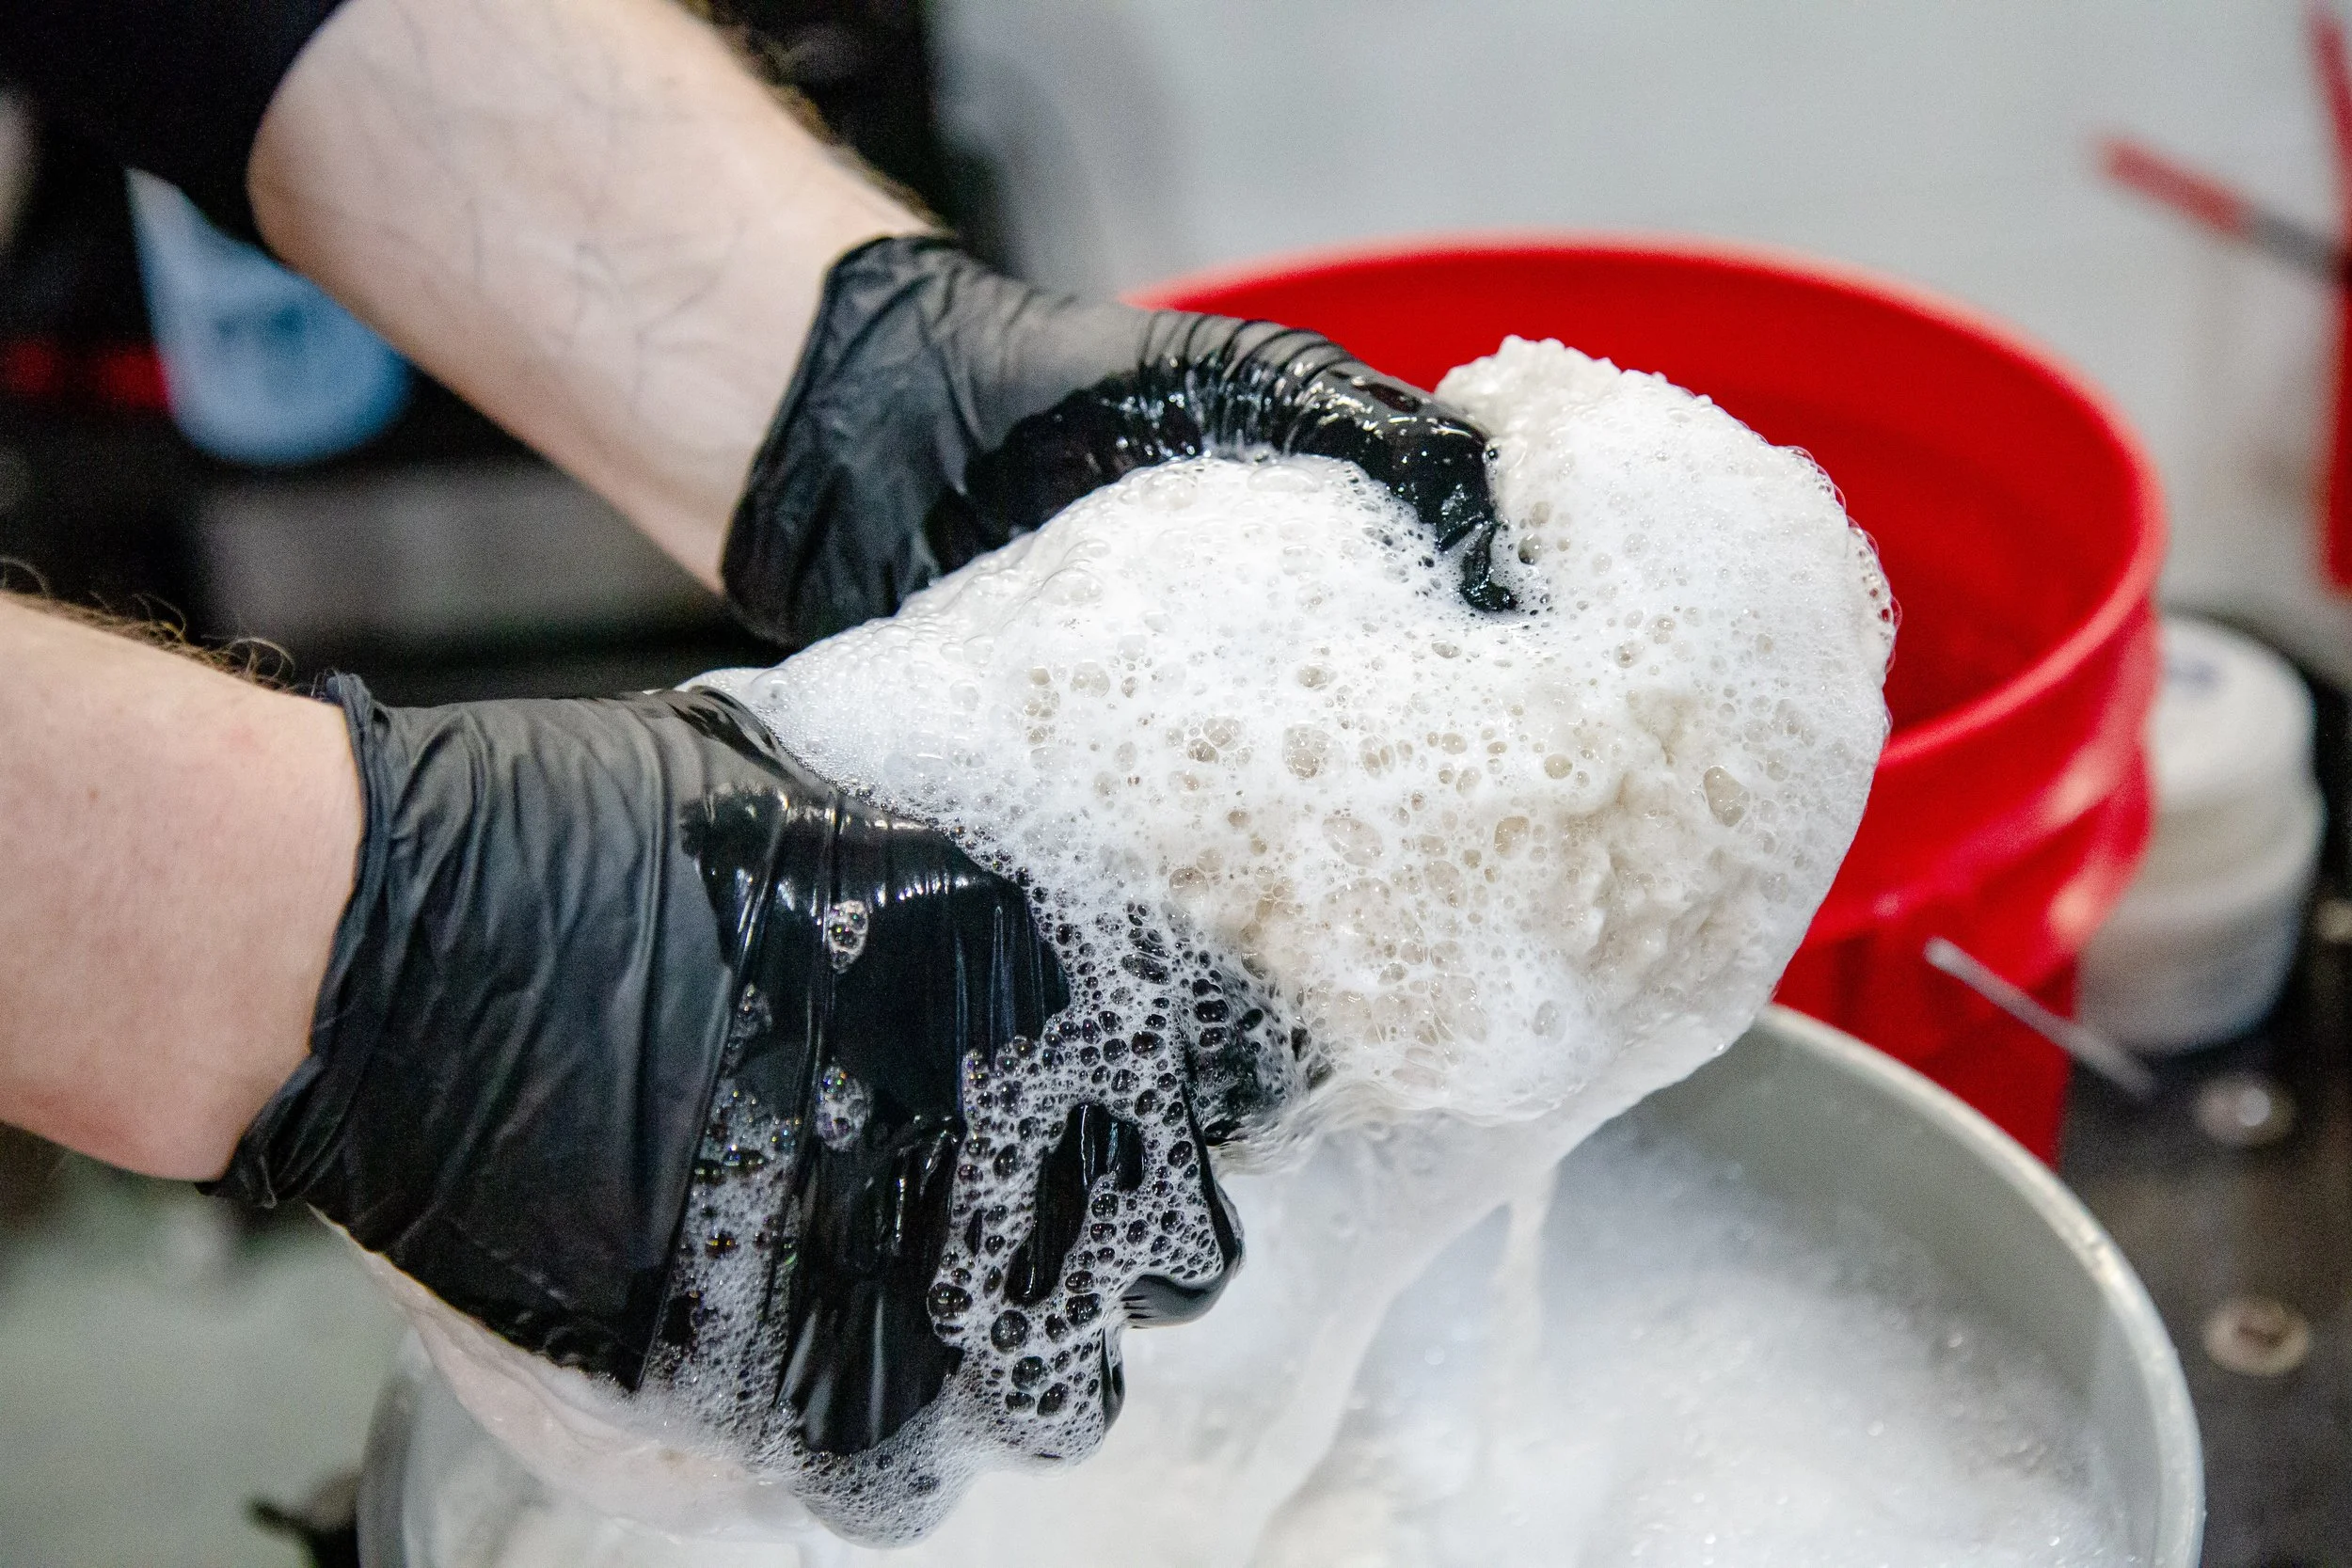
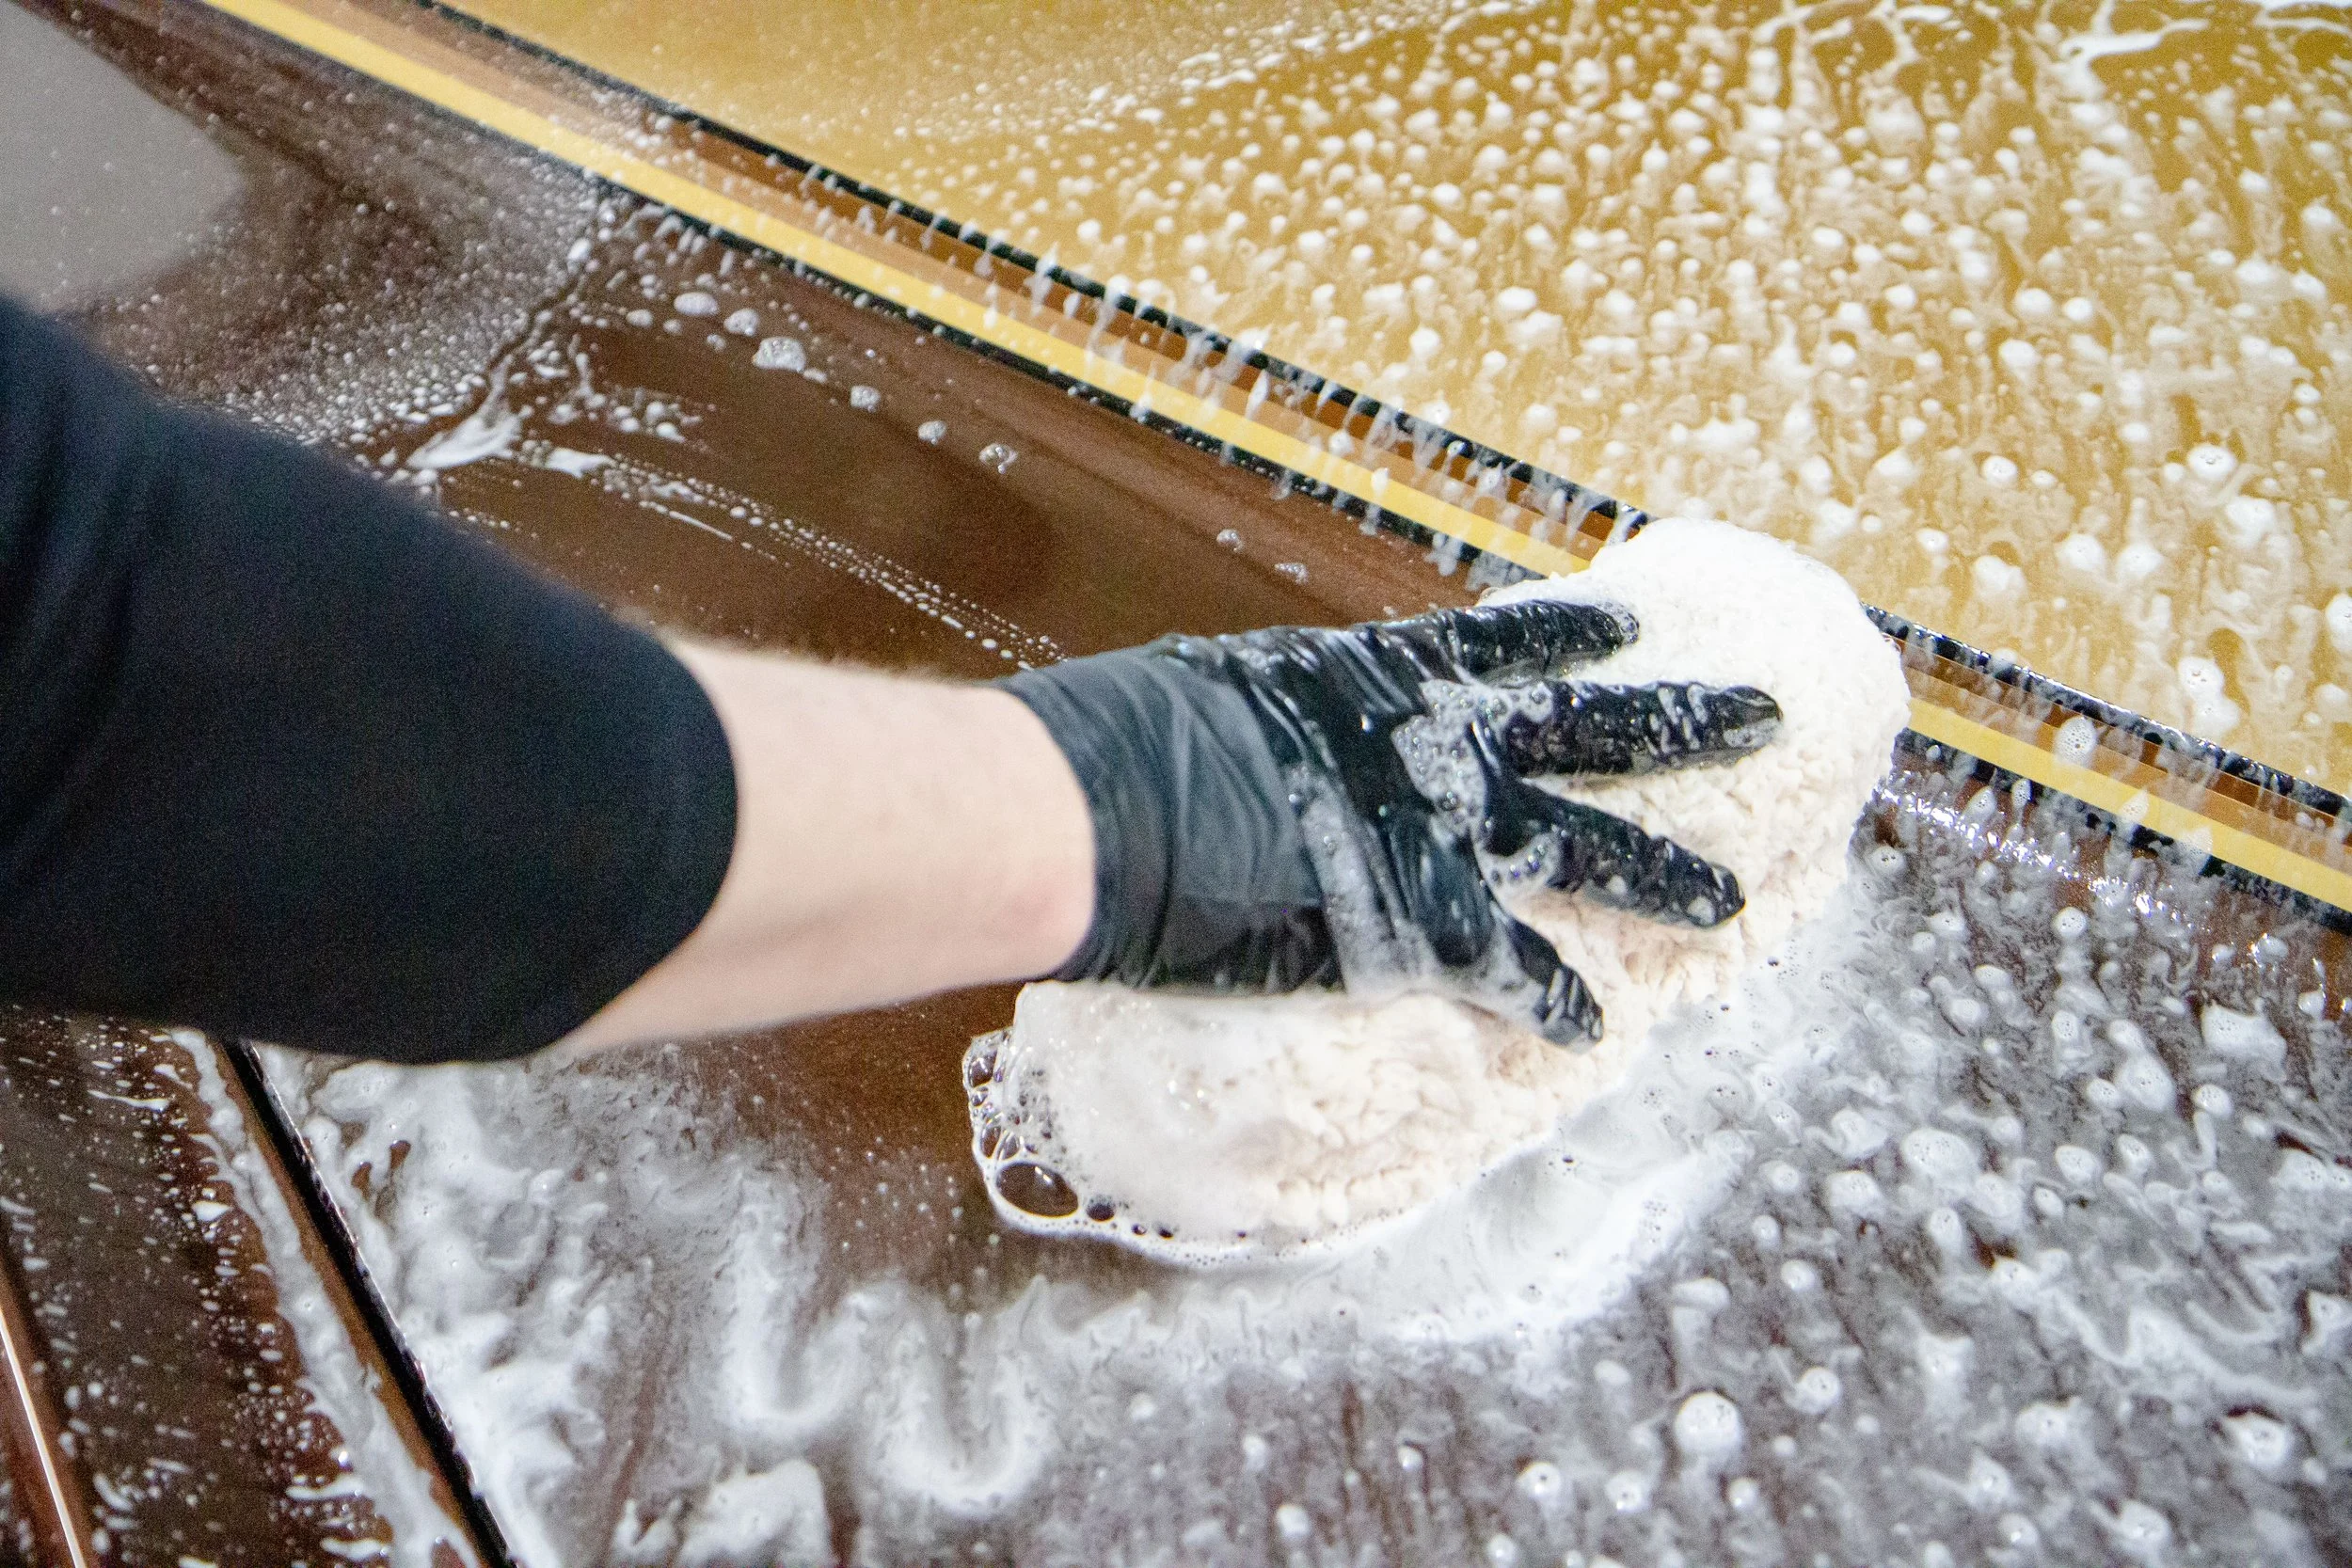
To begin the wash, dunk your wash pad/mit into your bucket of clean soap solution and squeeze it to soak up some shampoo.
The wash should always be done in sections. Starting with the top third of your vehicle, use your pad or mitt to clean the surface, gliding lightly across surfaces in a straight line only. Use as little pressure as needed and, as mentioned earlier, never wash paint in a circular motion.
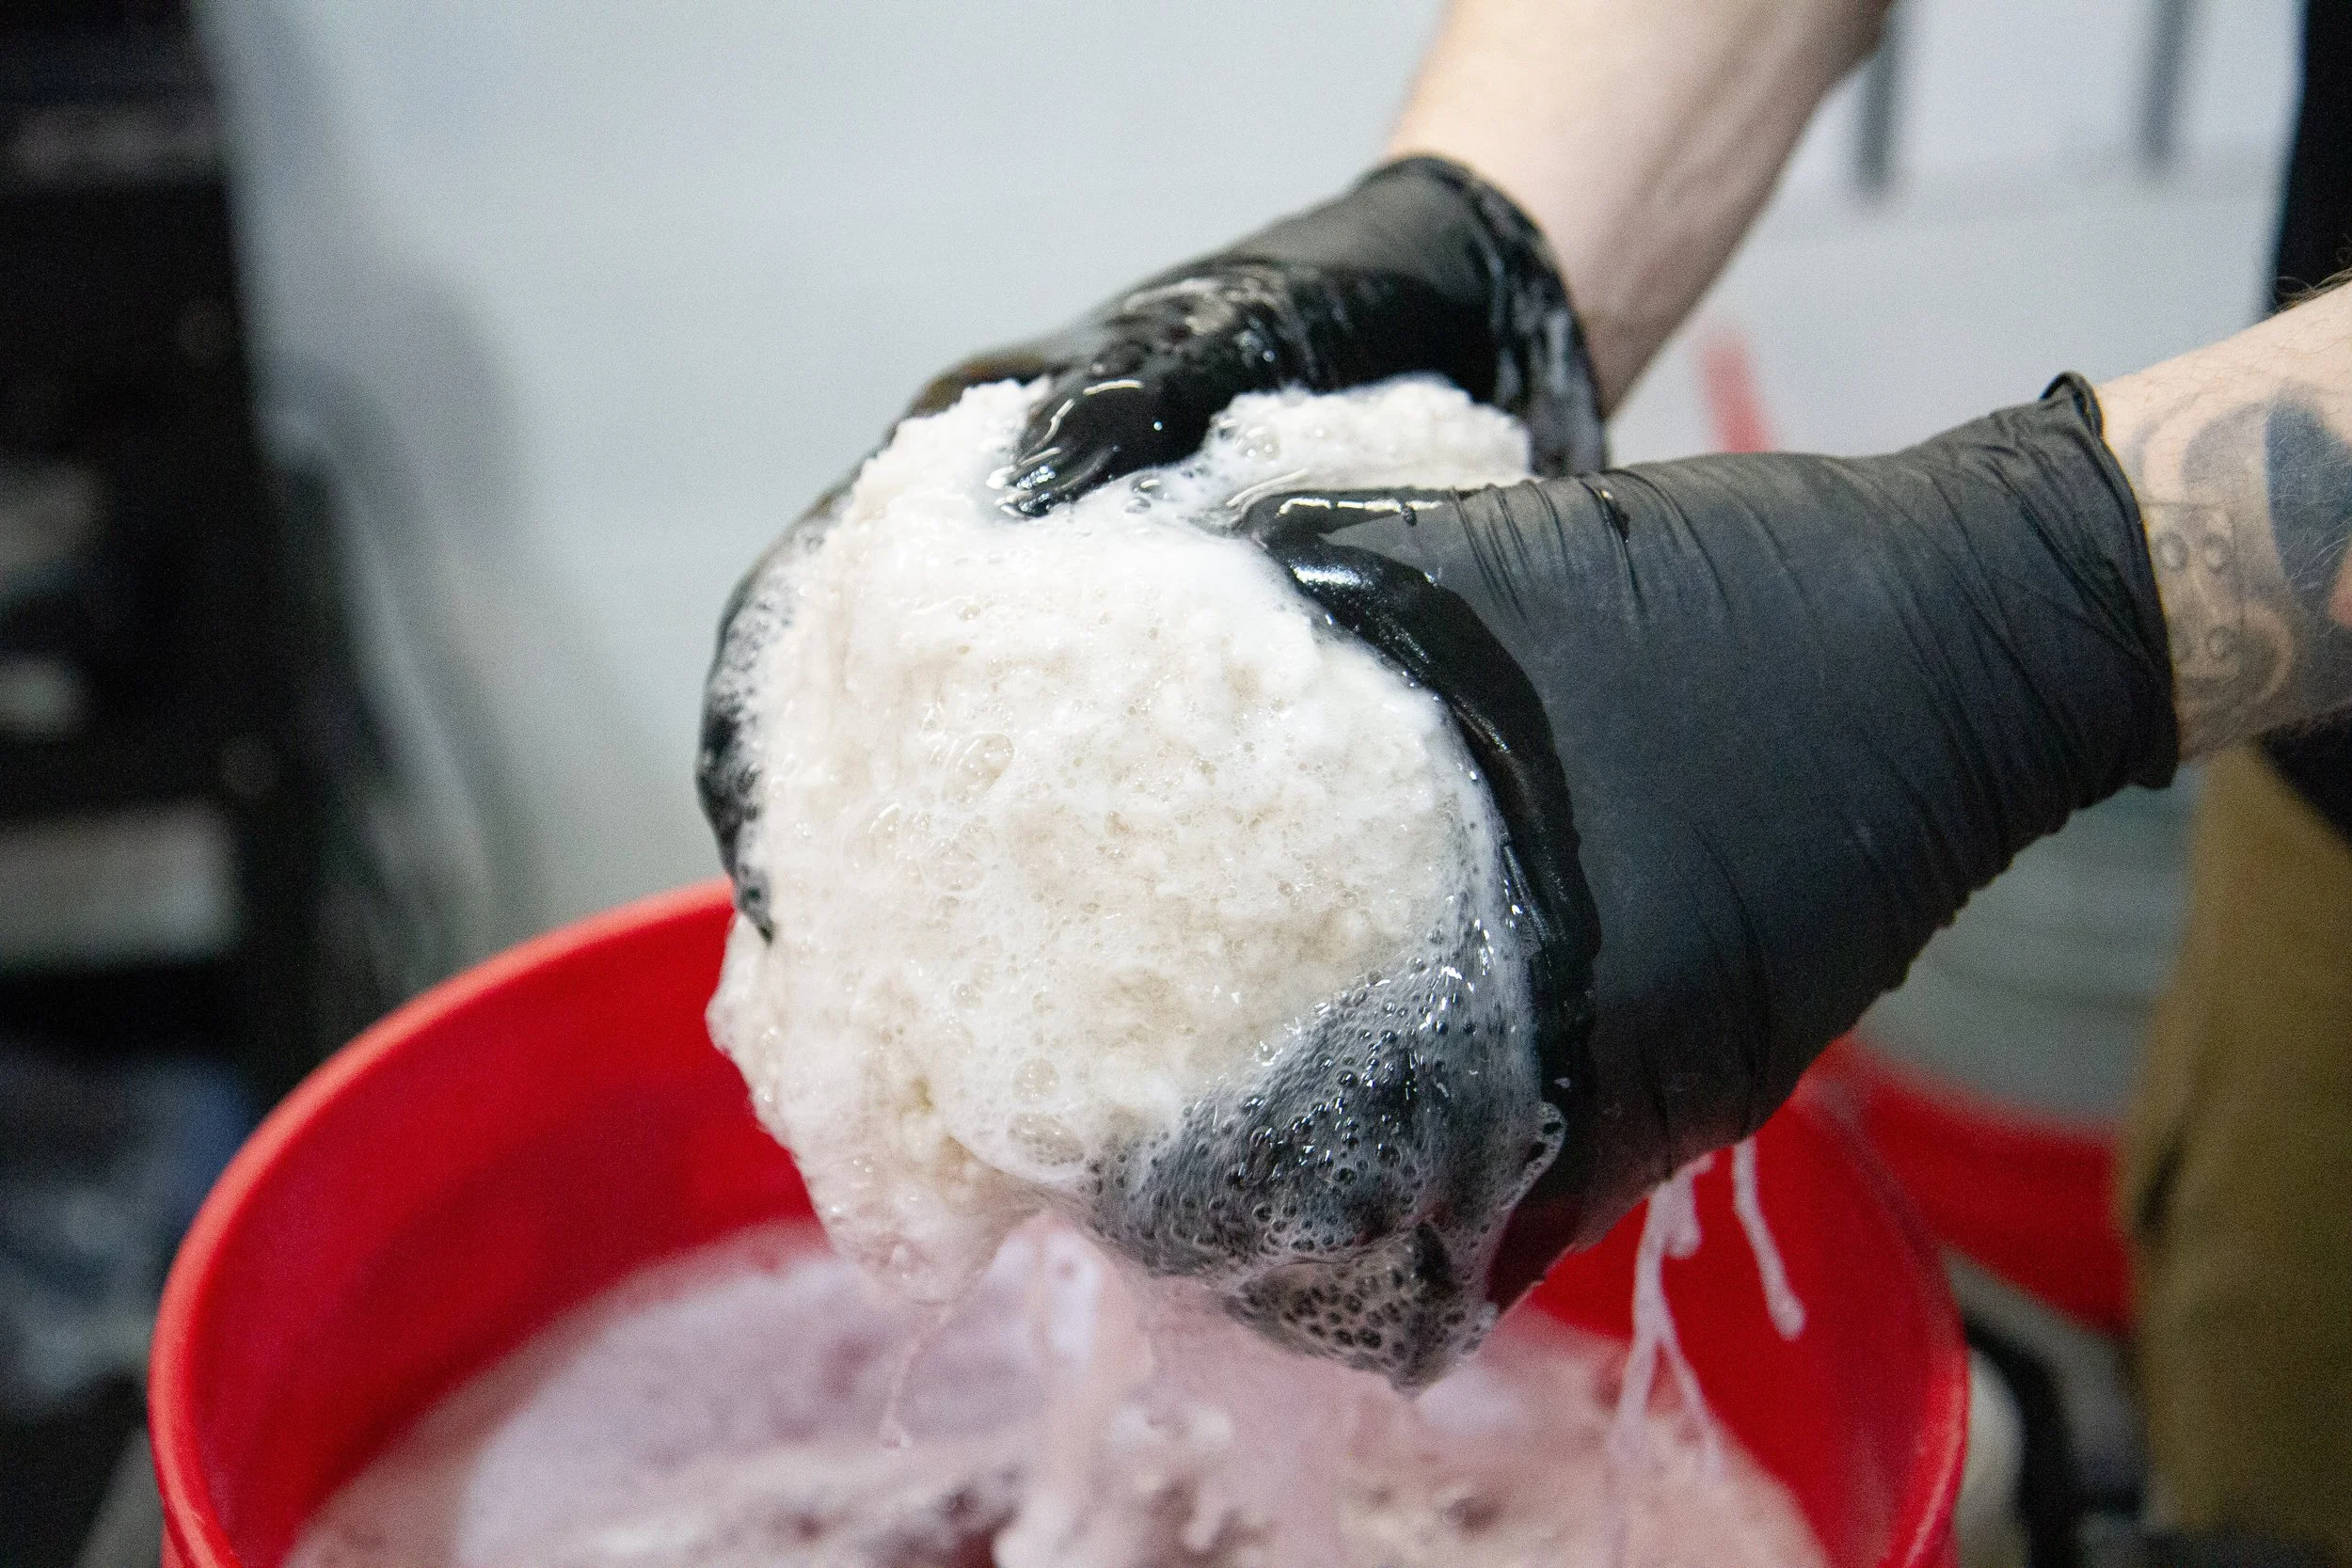
After washing each panel, you want to rinse out your pad/mit by dunking it and ringing out in your rinse bucket. This is important to do frequently, since it will release any collected dirt. After rinsing the mitt, dunk back into the soap bucket and continue to the next panel.
Repeat the same steps for the middle third, finishing with these same steps for the lower third.
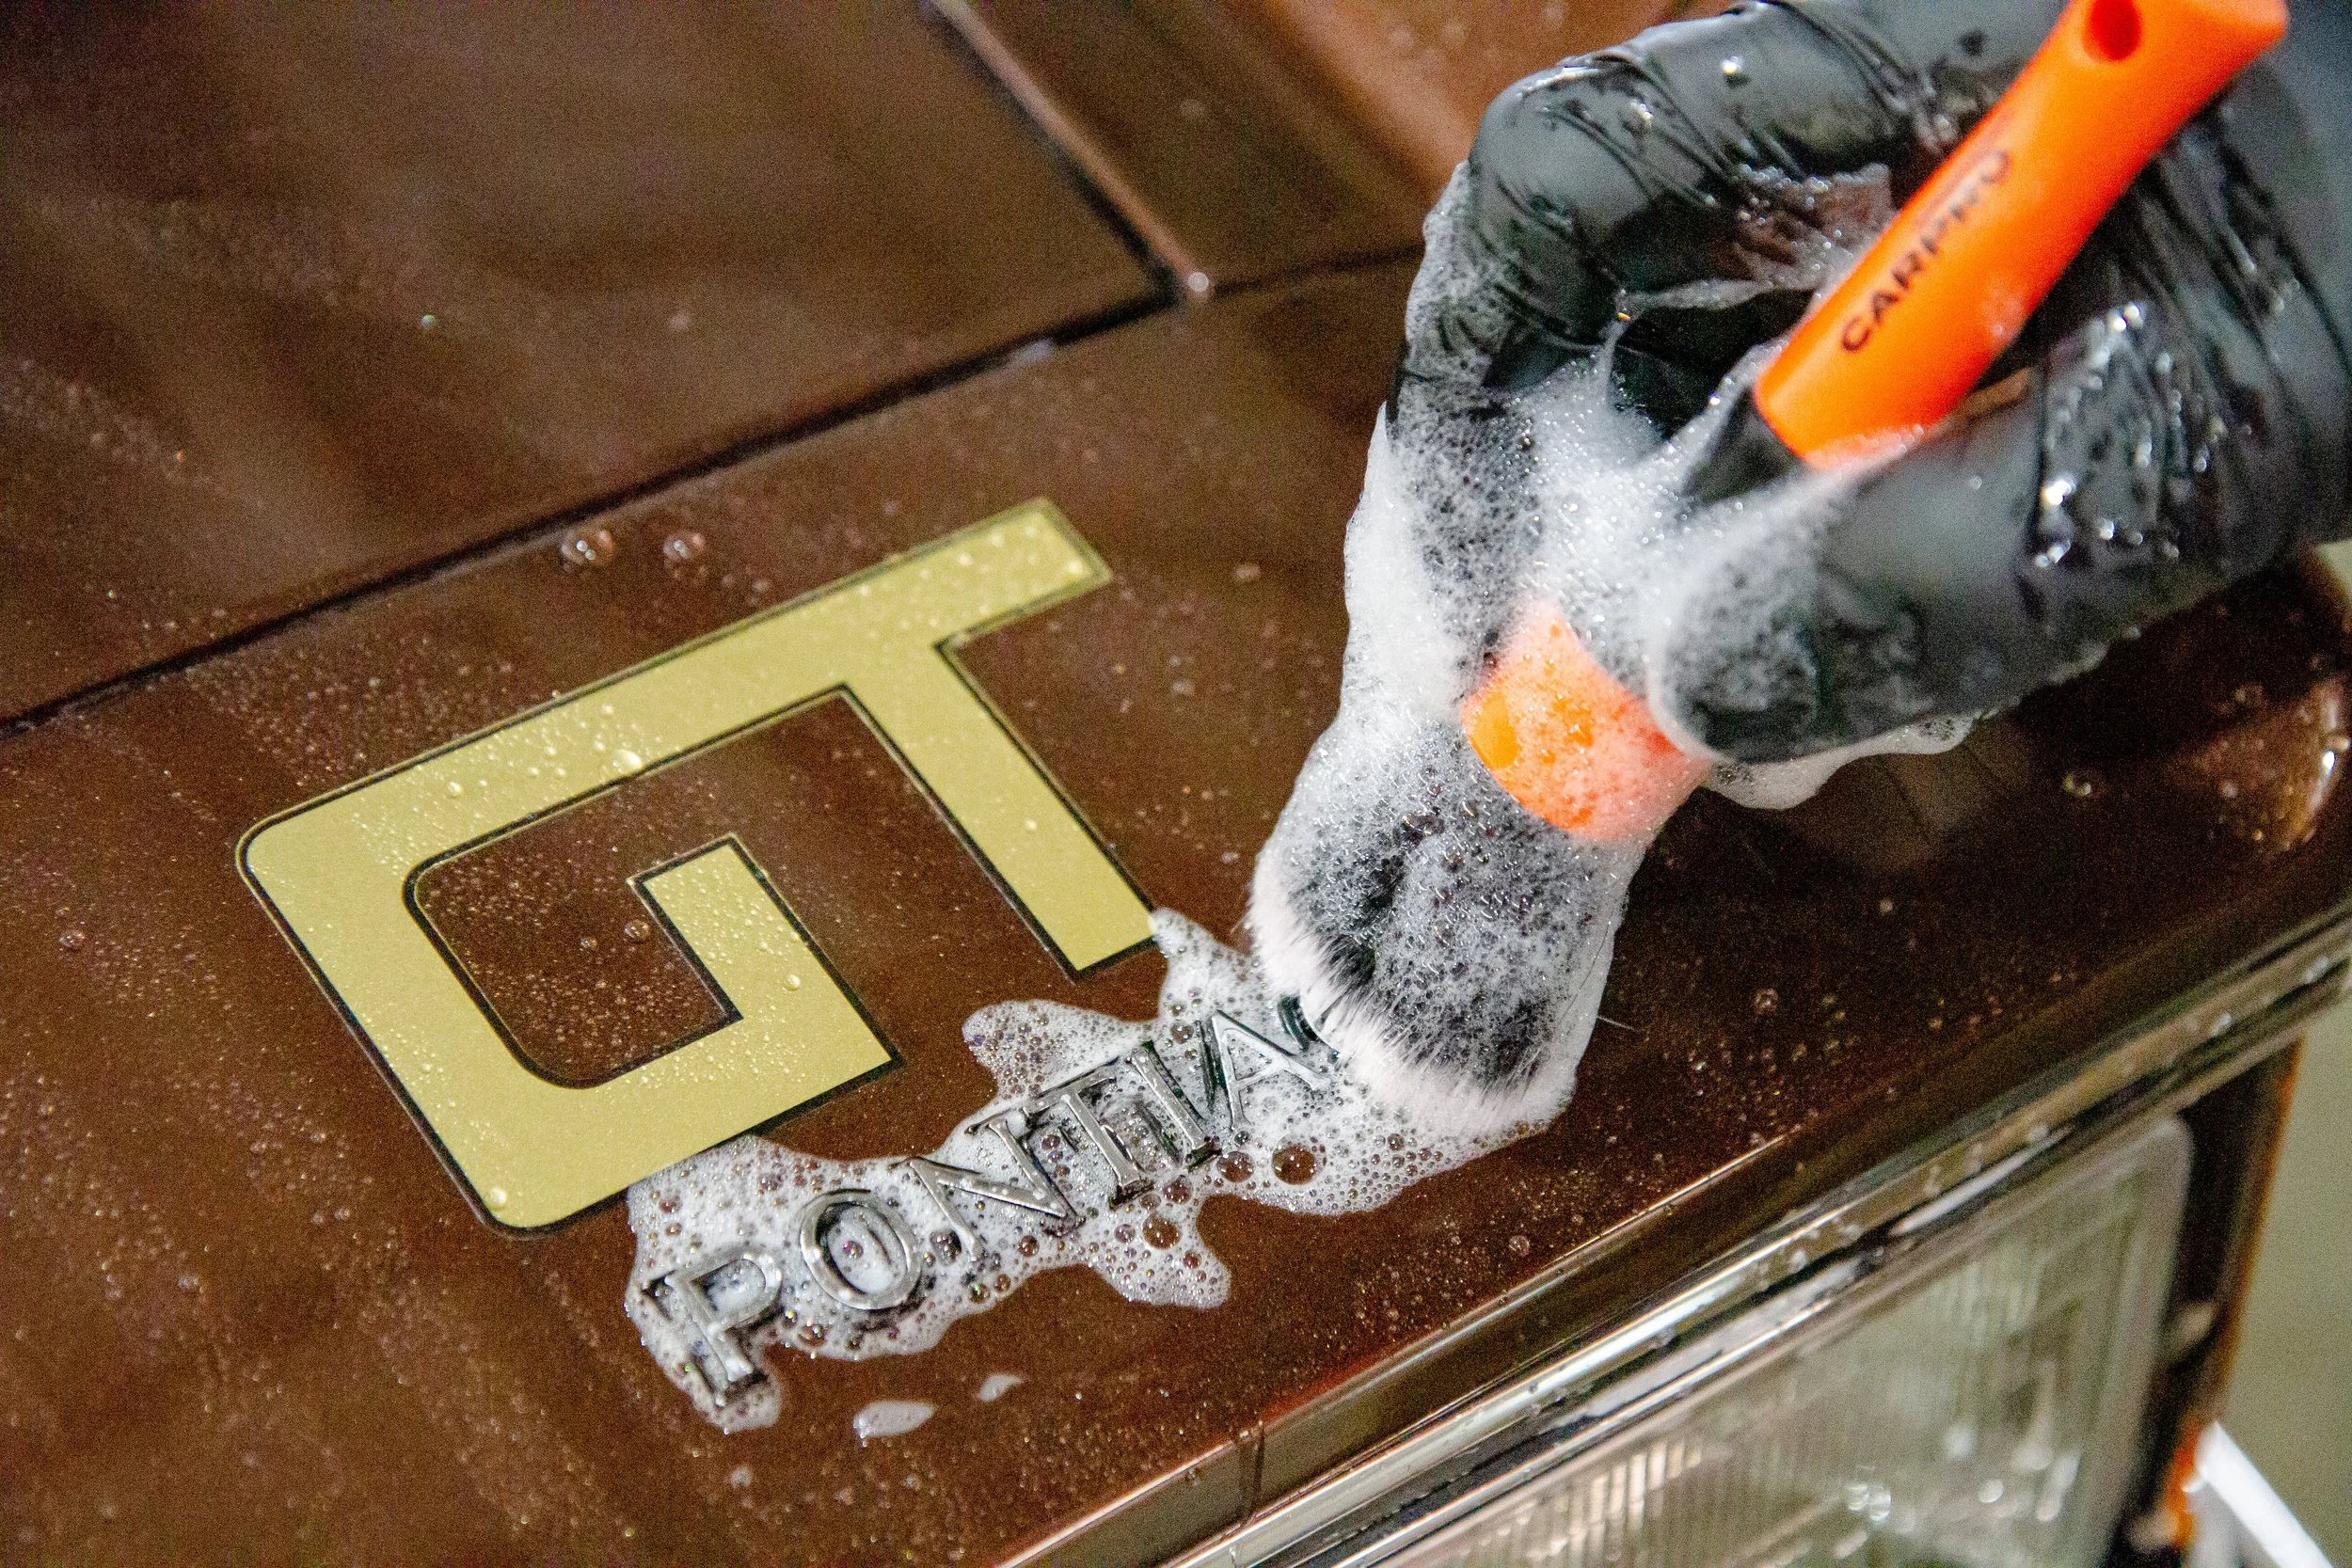
After washing all major areas with the pad/mitt, dunk a soft wash brush into the soap and then clean intricate areas such as grilles, emblems and any other tight spaces.
Dispose of remaining solutions for both the shampoo and rinse bucket. All buckets should now be empty!
Step 5: Rinse
Going from top to bottom, use your pressure washer (or hose) to rinse the entire vehicle thoroughly, removing any trace of the soap solution.
Step 6: Dry & Protect
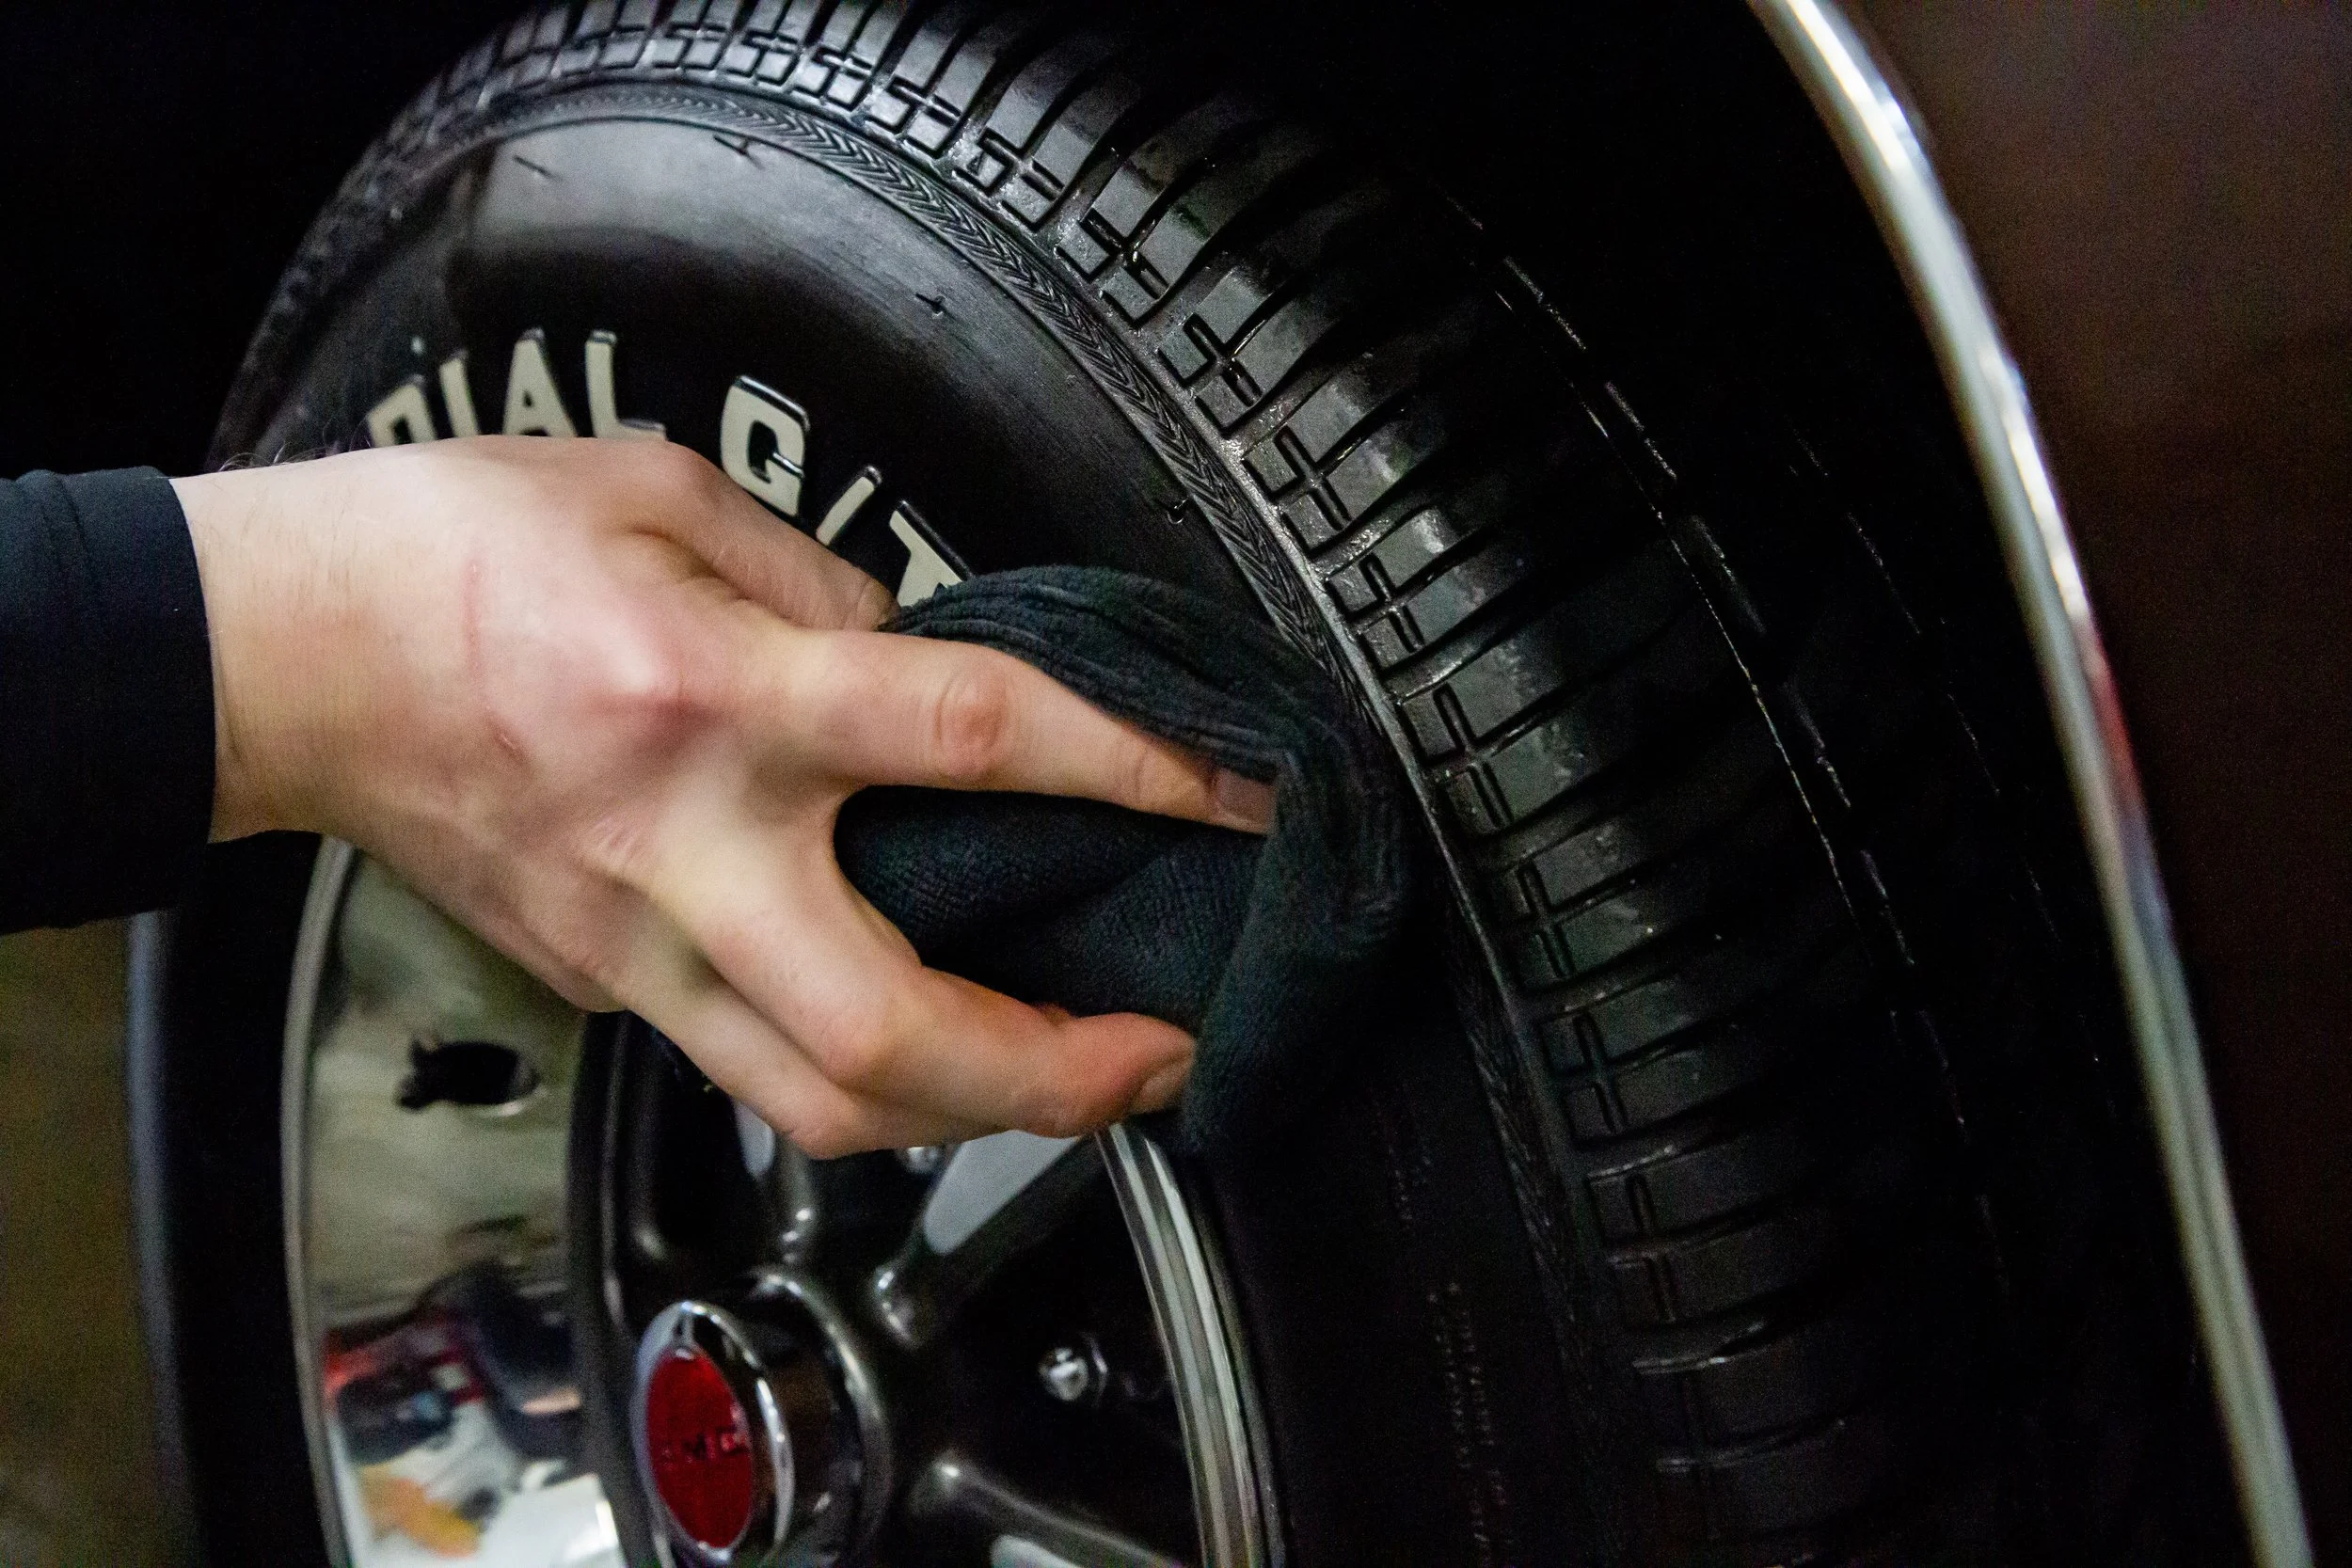
Start with applying tire dressing liberally to all 4 tires and allow that to sit until wiping excess off last, or leave it entirely for ample shine.
Using fresh water from the hose, soak and ring out a clean, tagless microfiber (or microfiber drying towel). Working in thirds, lightly glide the towel across surfaces in straight motions, ringing out your towel of excess water after each panel.
You want this damp towel to absorb up most of the surface water, but not all of it. Any remaining water will be swept up in the next step.
TIP: When drying your wheels and tires, make sure to always use completely separate towels to avoid any chance of cross contamination on your paint.
Optional: If using compressed air, use it to blow out cracks, crevices, emblems, wheels and tires.
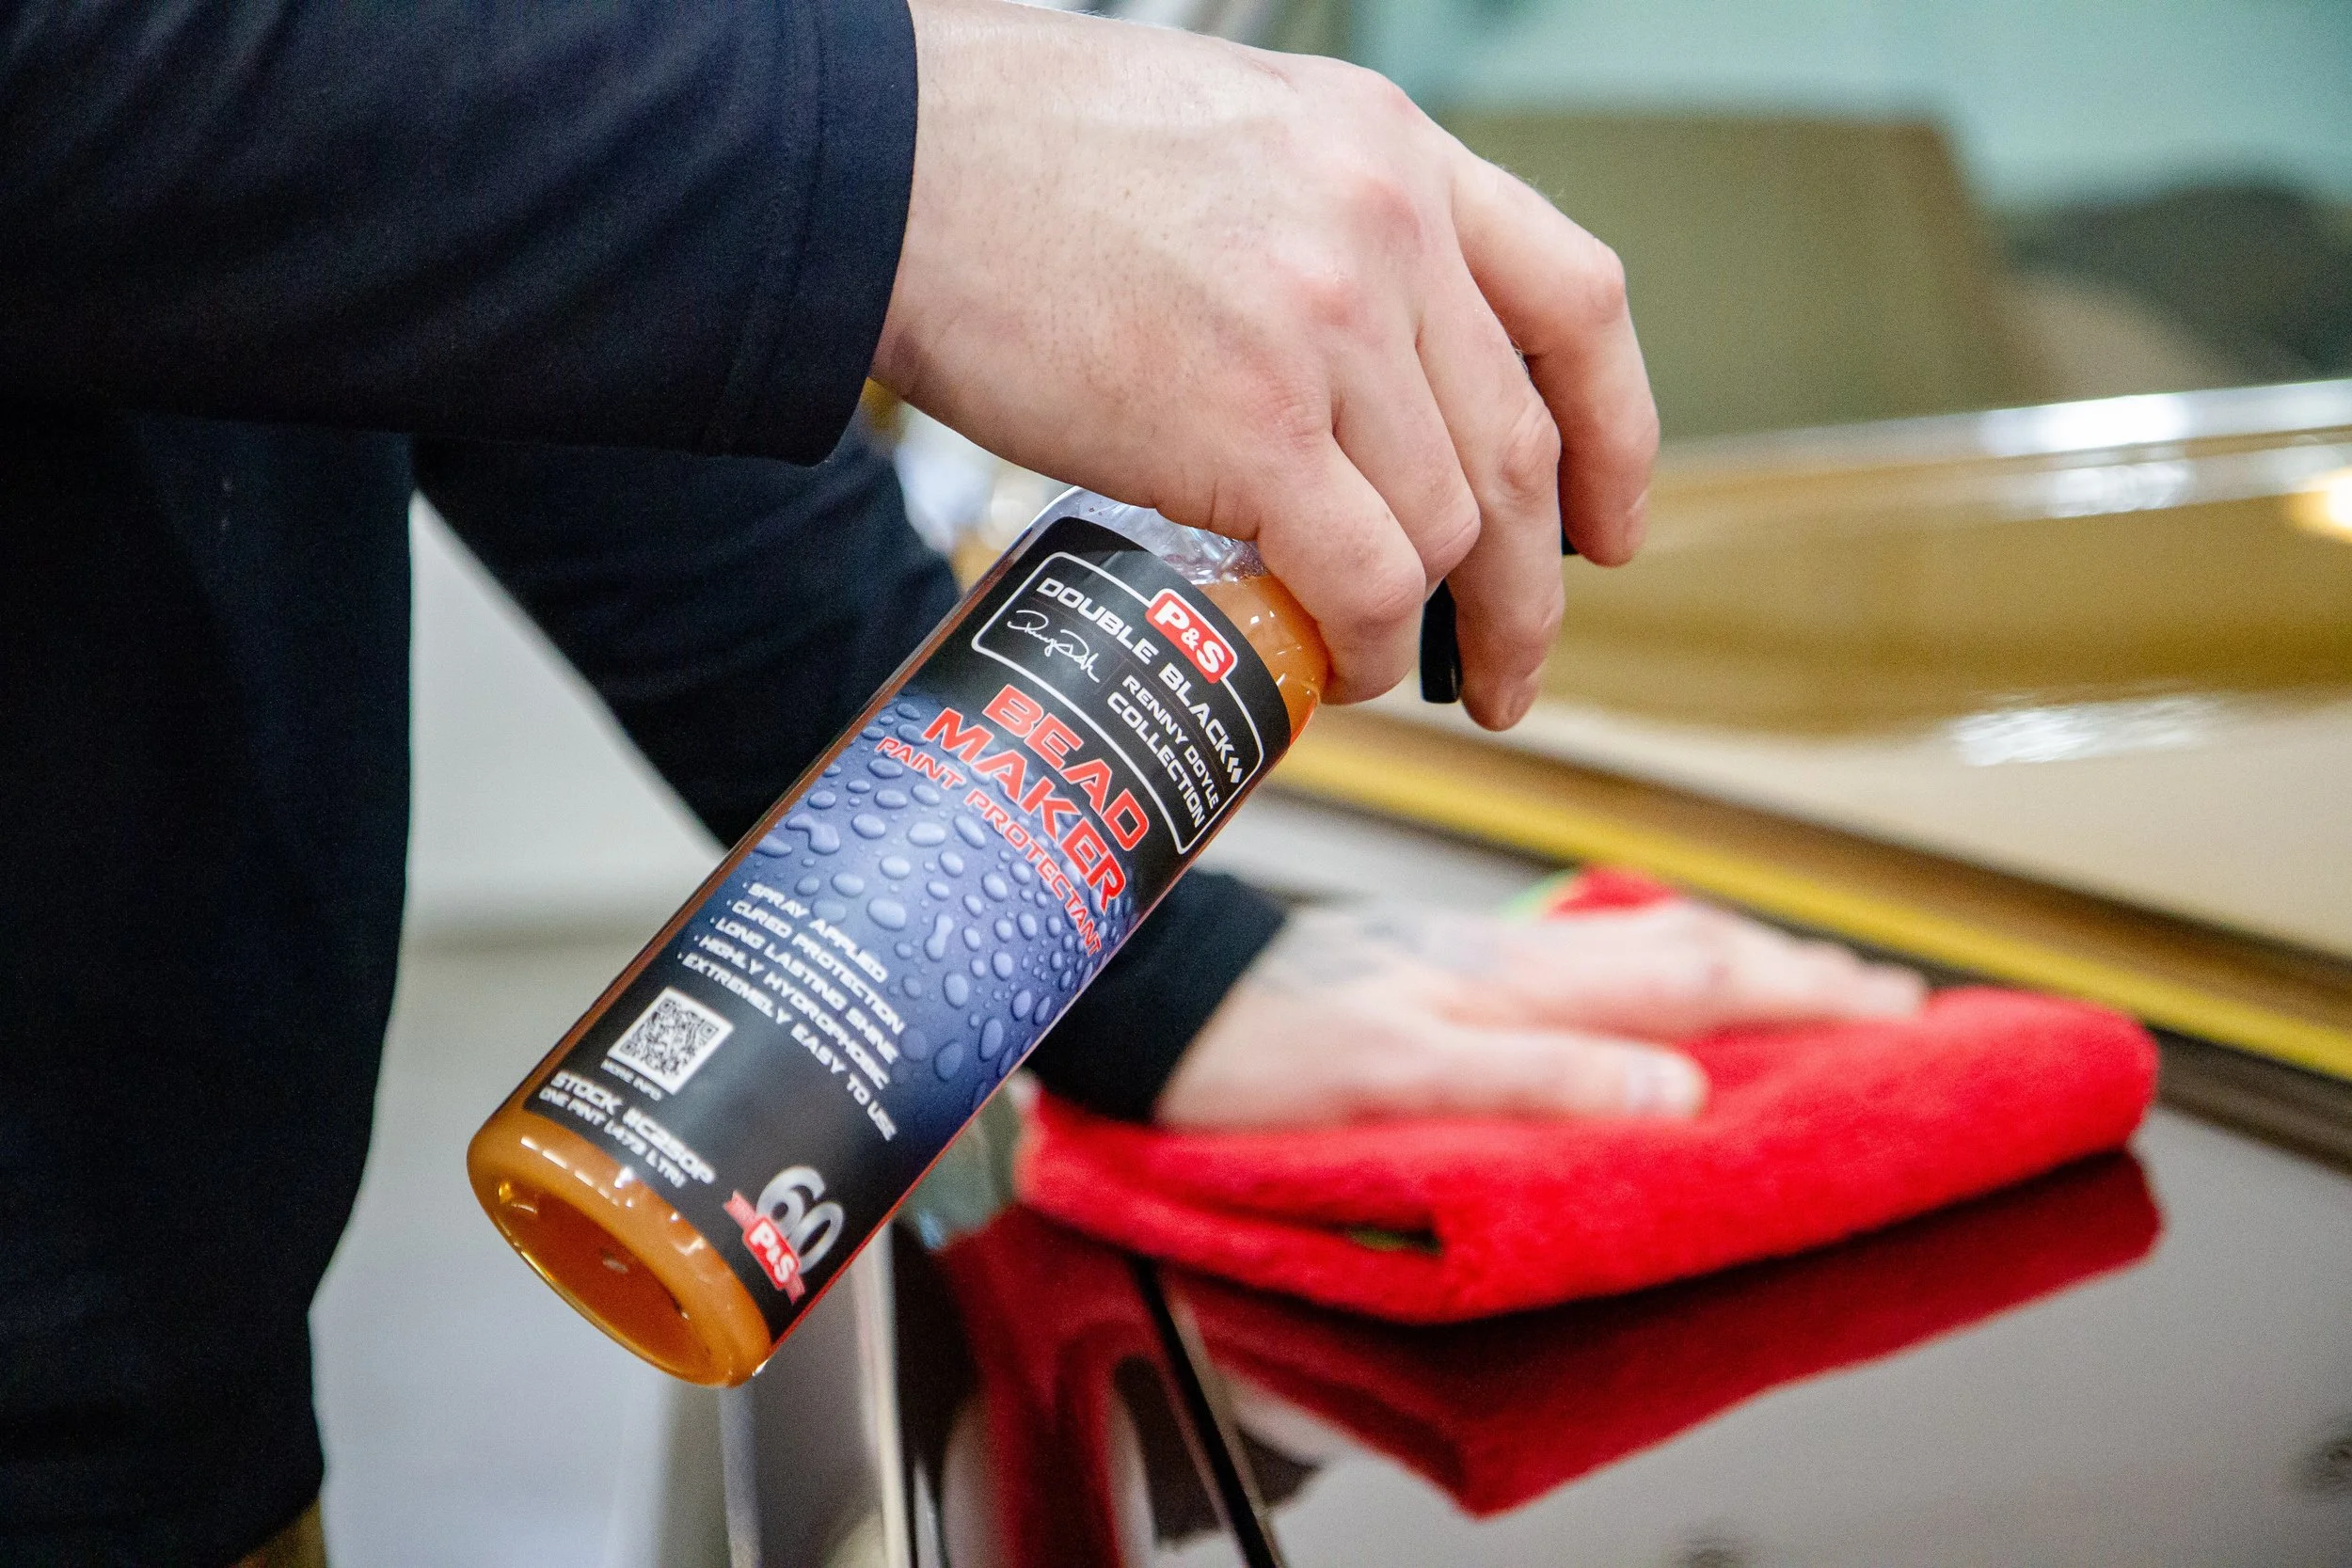
To finish drying and add your protection, grab multiple clean microfibers and your paint sealant product (or detailer spray/drying aid). Working in thirds, panel by panel, liberally apply paint sealant, then spread product in straight lines with a microfiber, while also absorbing more excess water. The sealant can be used on all surfaces, even the glass.
After covering all areas, use a second, dry microfiber to go back around and lightly buff off sealant, finishing the drying and protecting process. The dry microfiber is safe at this stage since you have applied a protective product on the surface and are buffing it off.
If wiping off excess from tires, use a tire microfiber to buff and shine tires.
Step 7: Admire
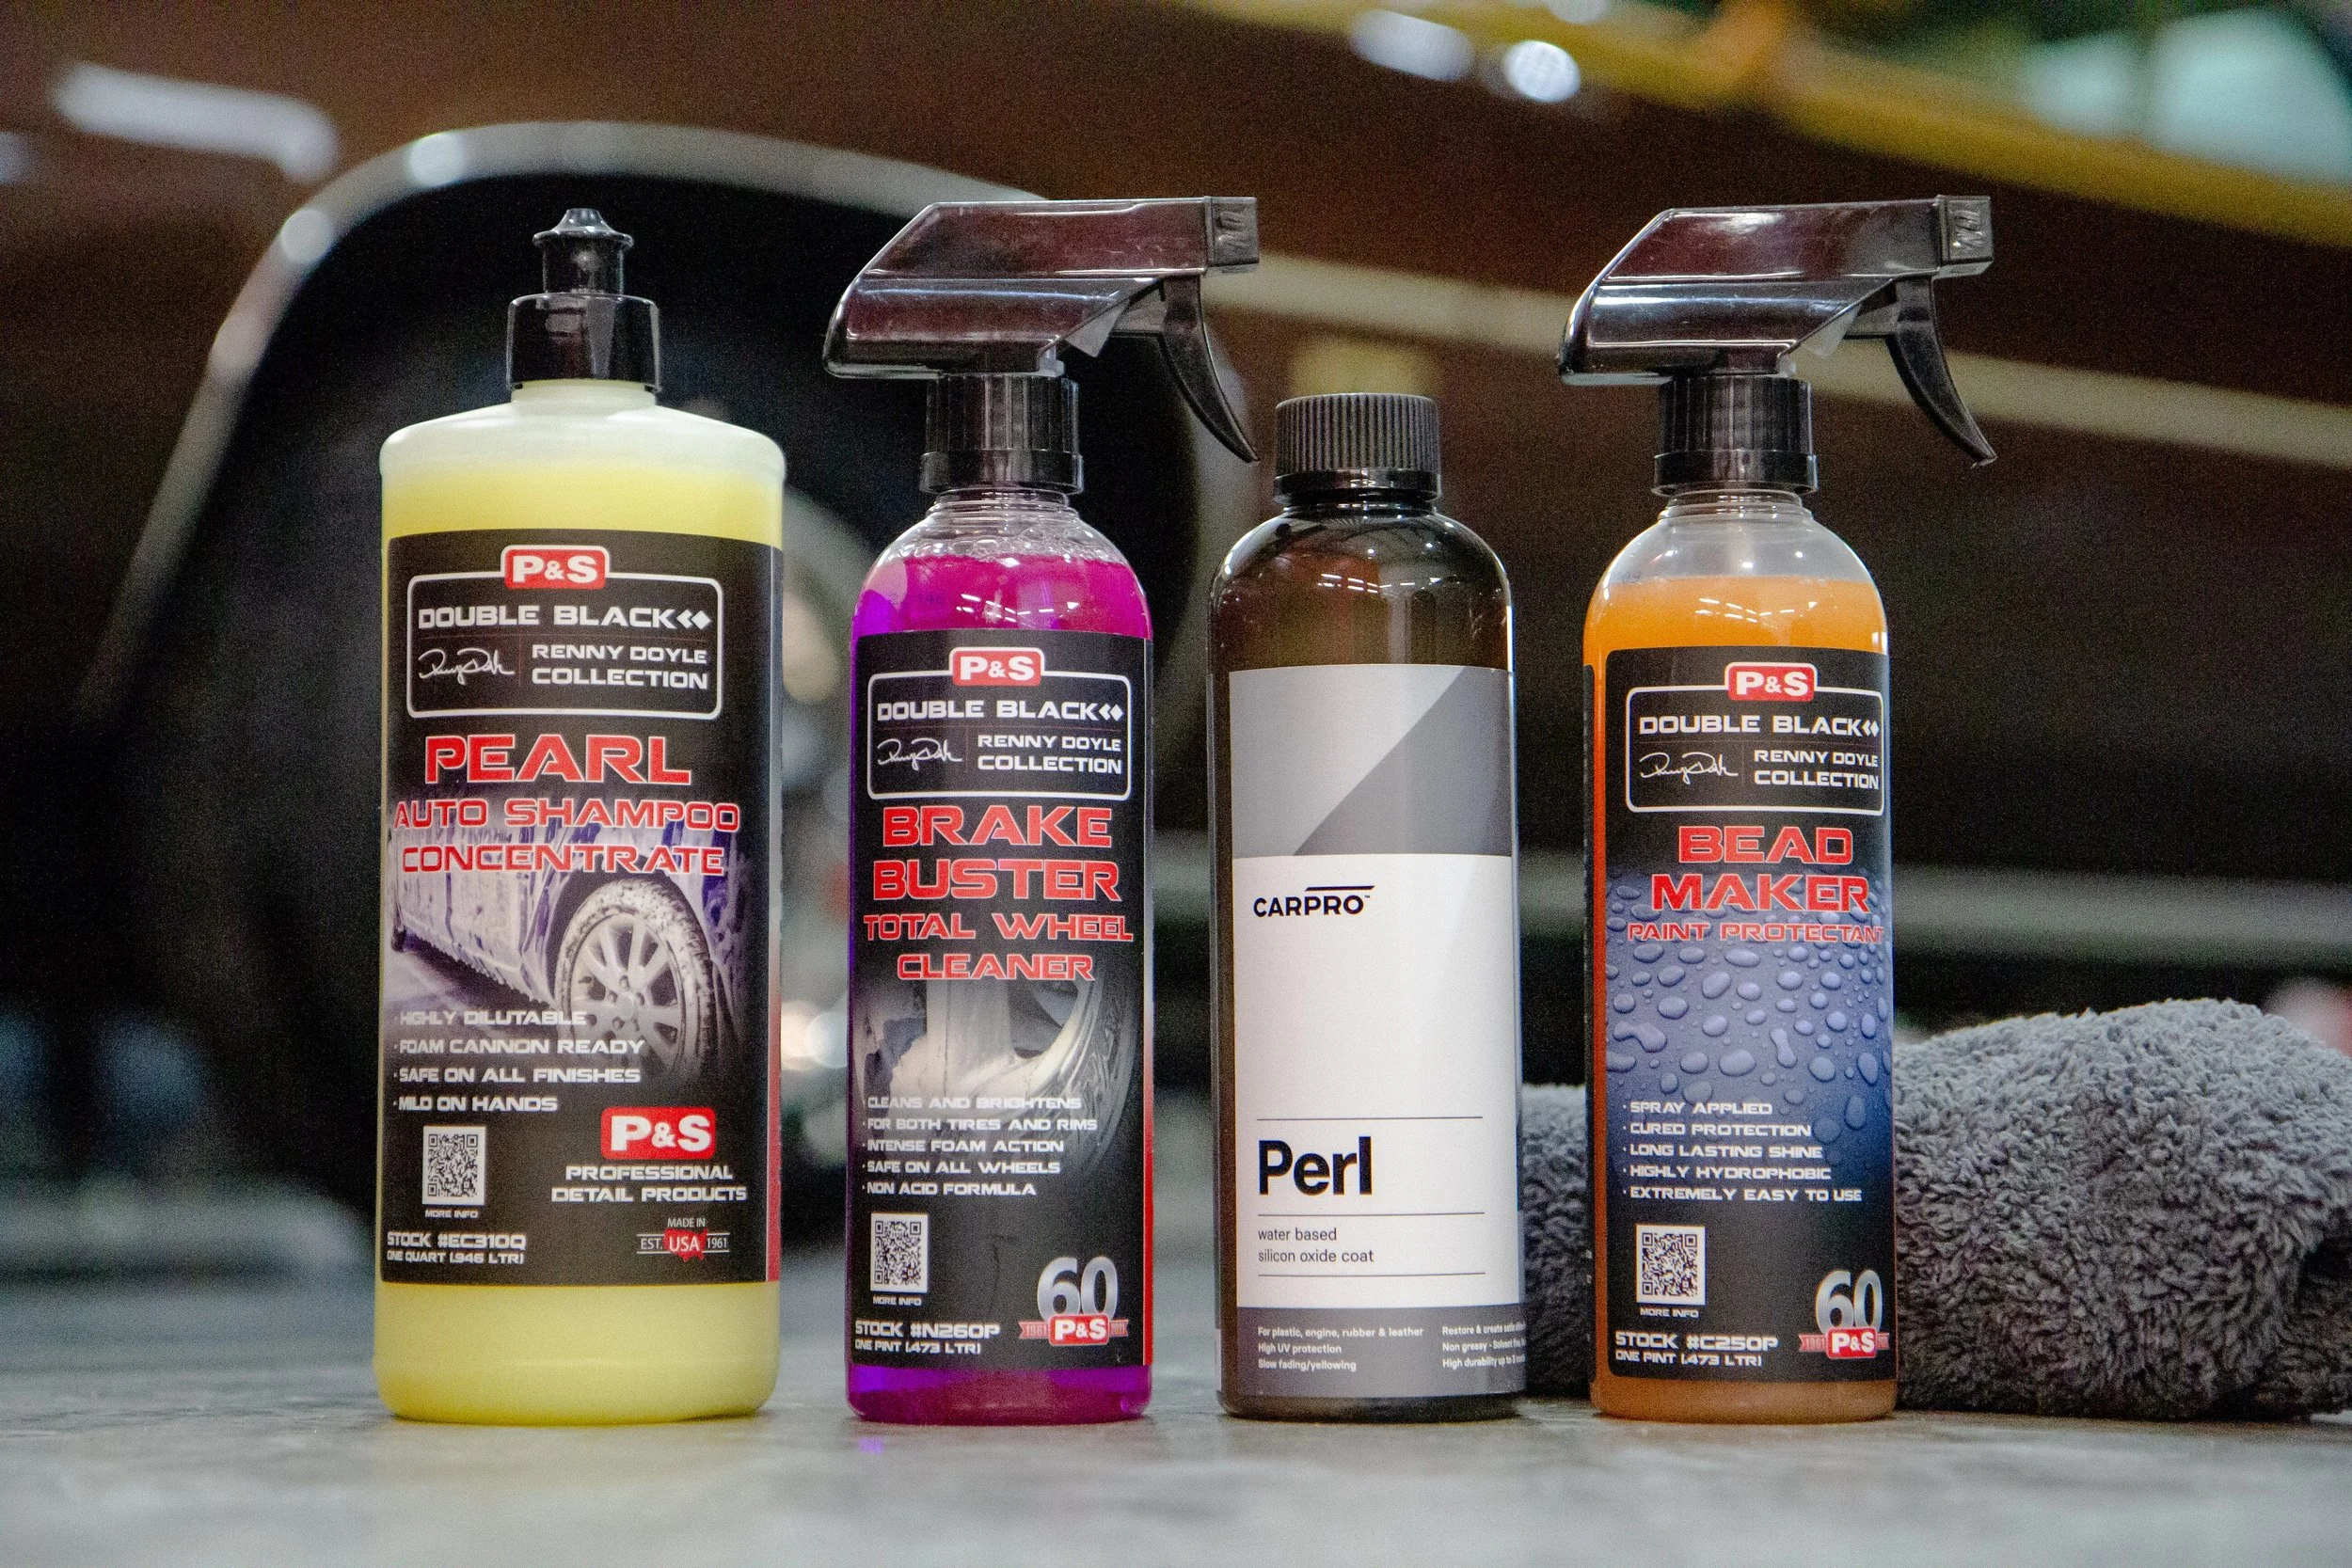
Products We Use (and Love):
P&S Pearl Auto Shampoo
P&S Brake Buster Wheel & Tire Clean
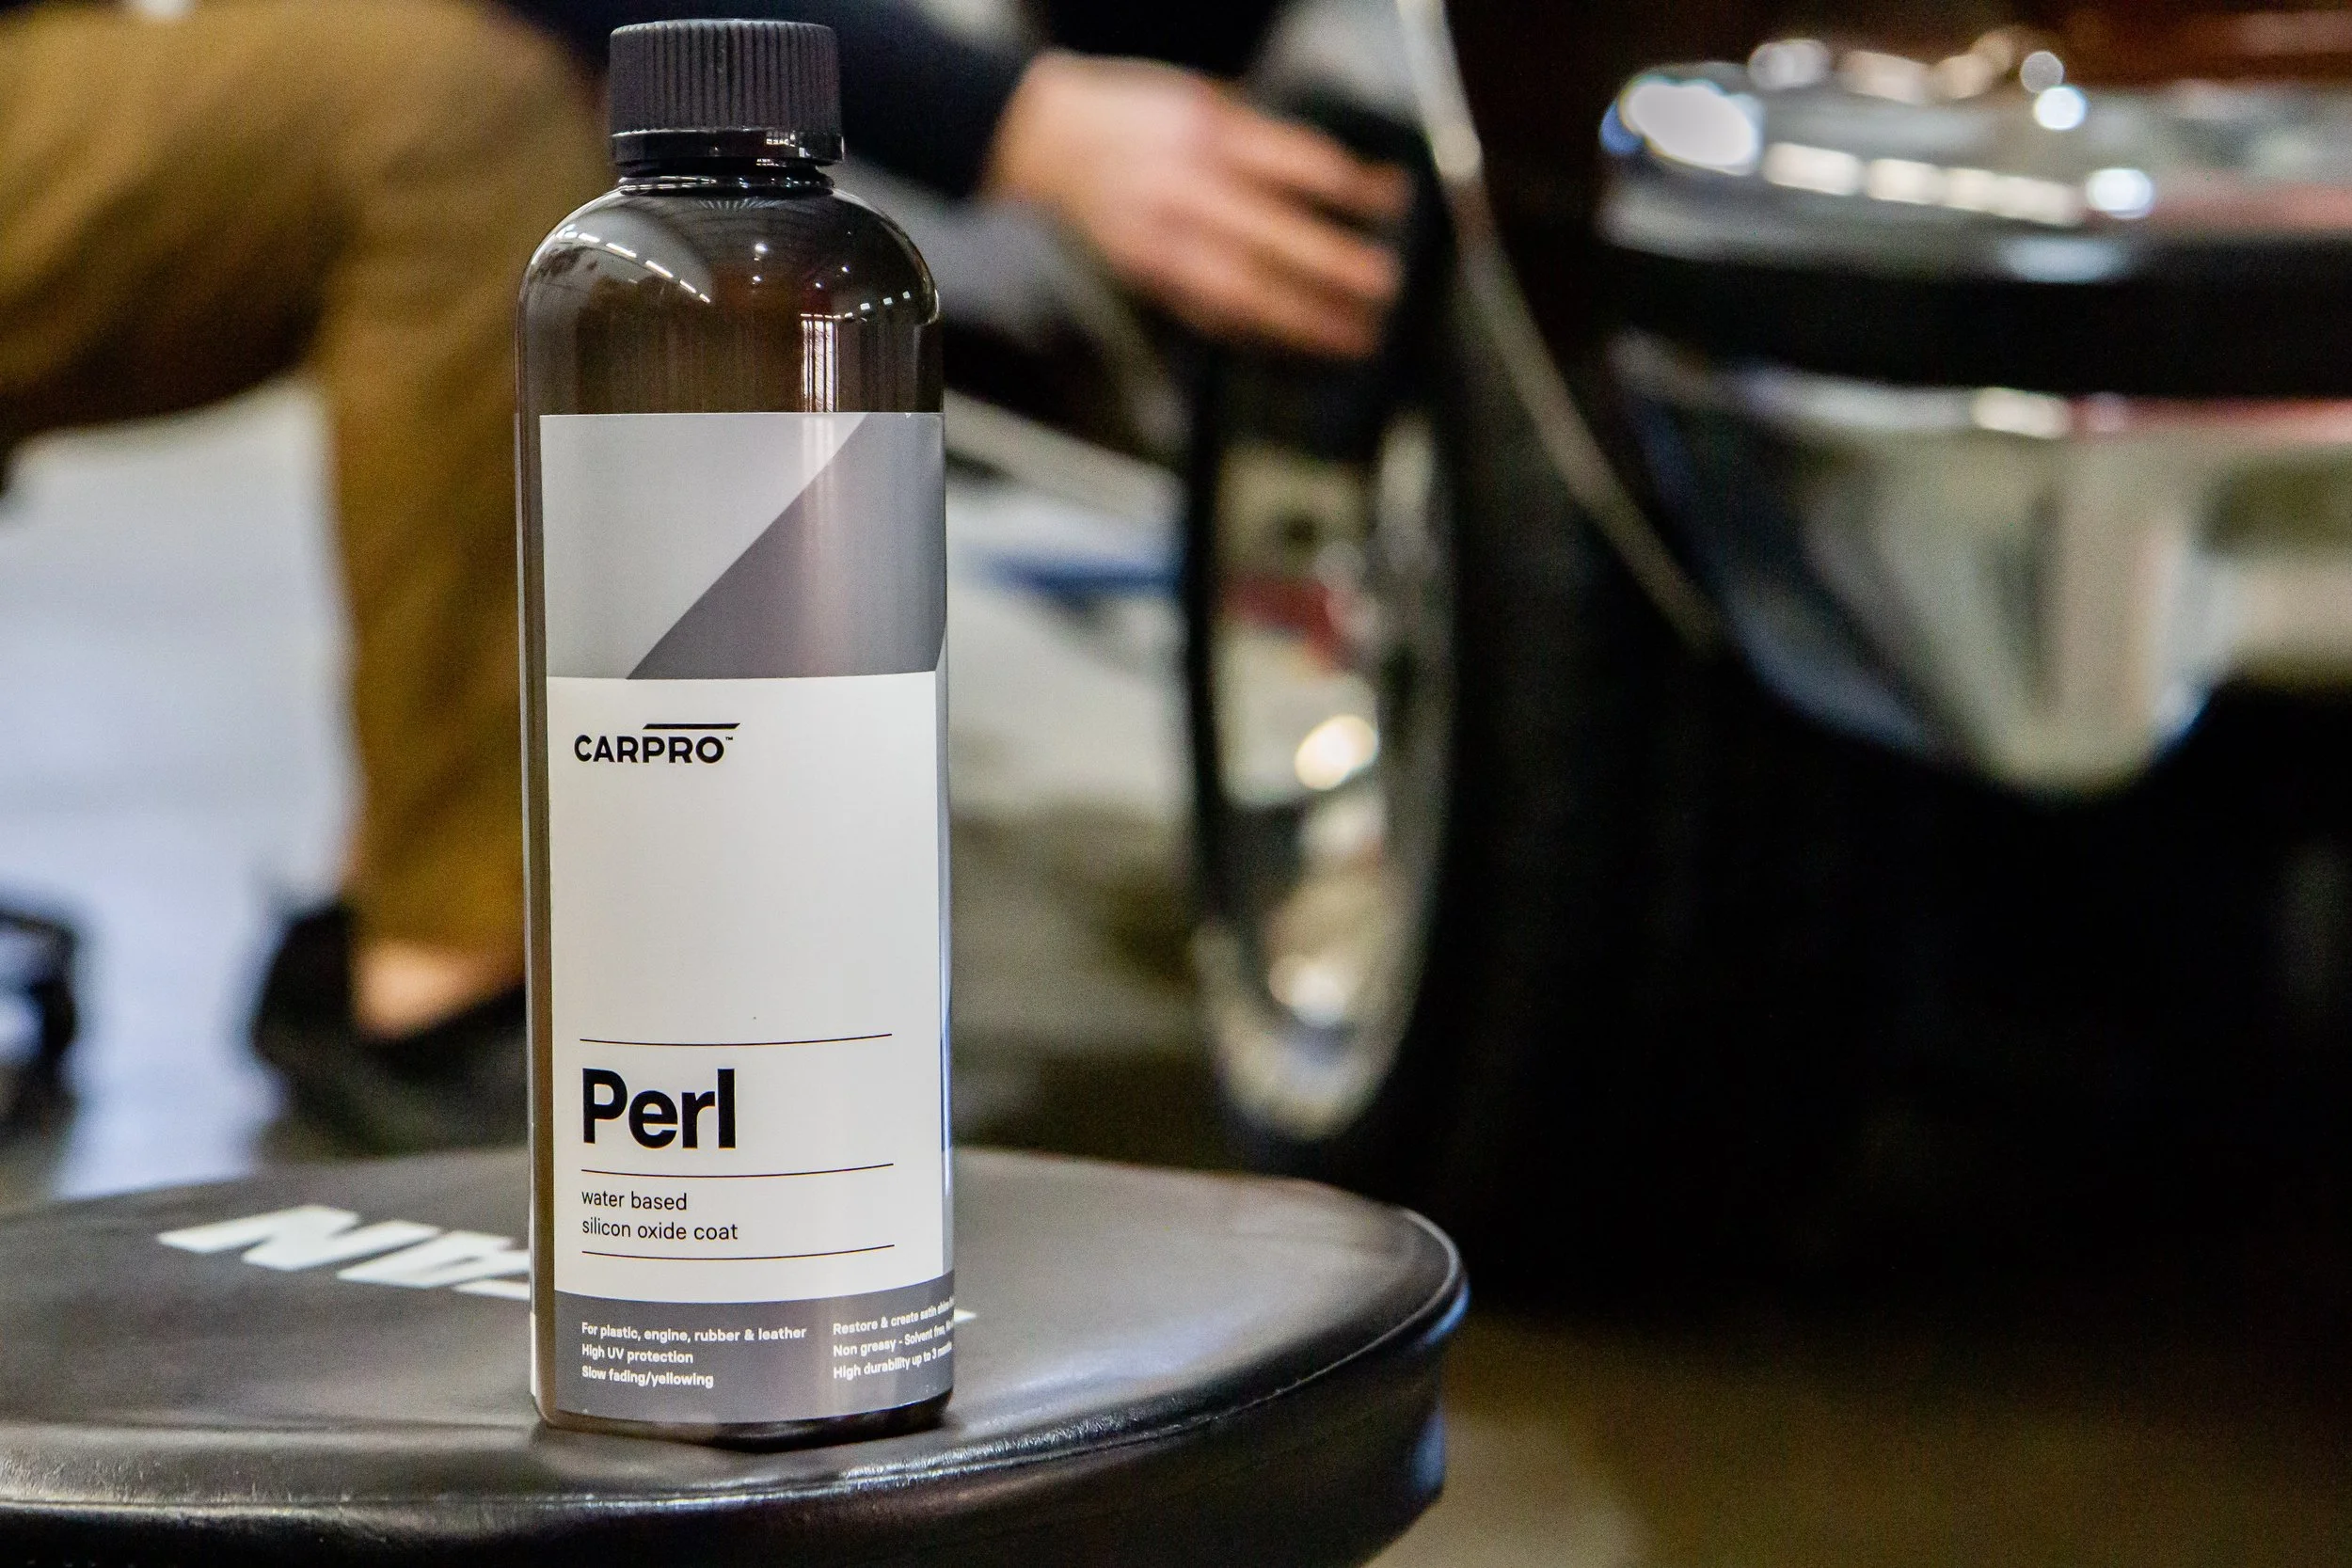
CarPro Perl Water Based Protectant (Tires, Plastics, Leather & More)
P&S Bead Maker Paint Sealant
How to Further Protect Your Pride & Joy
Taking care of your vehicle keeps it looking it’s best and helps it maintain value. Depending on what's most important to you, here are some ways you can benefit with different types of protection.
Interior Protection
Window Tint offers UV protection, glare reduction and reduces heat. If you’re worried about changing appearance with a dark tint, you can get these same benefits from a very light tint, such as a 70% film. The difference in appearance would be minimal, and would look like OEM factory front glass, so hardly noticeable. Ceramic films are designed specifically for heat rejection, so if you're looking to reduce heat, definitely go with CIR or EVOLVE (or any quality Ceramic Tint).
Interior Ceramic Coatings will protect surfaces from damage caused by harmful UV. or spills and stains. This coating can be applied to essentially any surface in your interior.
Paint Protection Film (Also known as PPF, 3M, clear bra) is a near invisible, protective film that can be custom cut and applied to any smooth surface to help prevent damage from scuffs or scratches. This is great for door jams, painted dashes and more!
Exterior Protection
Ceramic Coatings are like wax on steroids. They create a smooth and glass-like protective layer for the paint, preventing environmental damage caused by UV, bird droppings and more. Once bonded, they create a deep and glossy finish, plus a hydrophobic surface. This will help your vehicle stay cleaner for longer and make washing it easier, too.
Paint Protection Film (PPF) is designed to protect from rock chips/impact damage, and isn't just for new vehicles. This film is nearly invisible and can be customized to fit any make and model, covering anywhere from your high wear areas or entire panels. With a show car, it’s understandable to want to eliminate the appearance of lines from a protective film. Luckily, we can apply the film to full panels with wrapped edges for discreet but complete protection.
Thanks for reading!
